The standard Perodua Axia will fit a double DIN head unit. However, the popularity of Toyota 200MM head units, even from popular brand manufacturers such as Kenwood and Pioneer has made changing to it very attractive. Especially given the fact that Perodua stereo sockets are identical to Toyota 200MM stereos. It’s basically a plug-n-play application.
Some popular models are the DDX616WBT, DDX716WBT and DNR935WBT by Kenwood and the AVIC-F7302, AVH-XL4750DVD & AVH-XL5750BT.
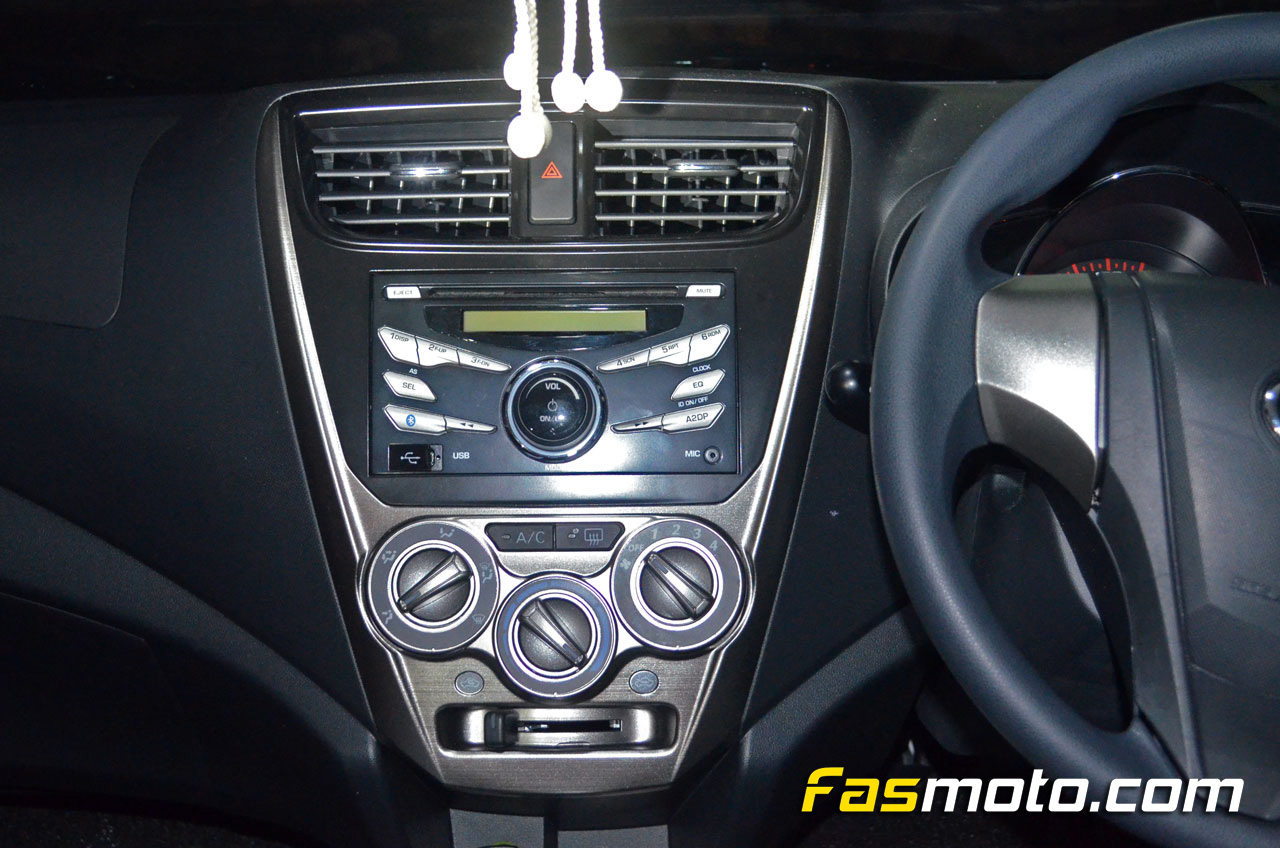
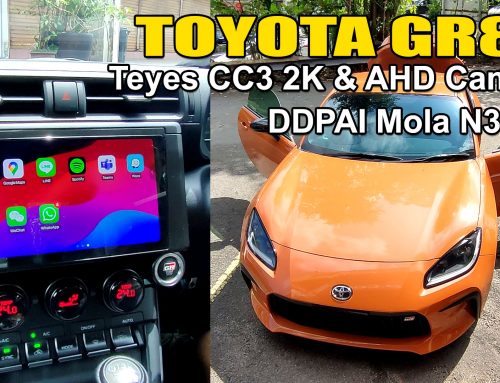
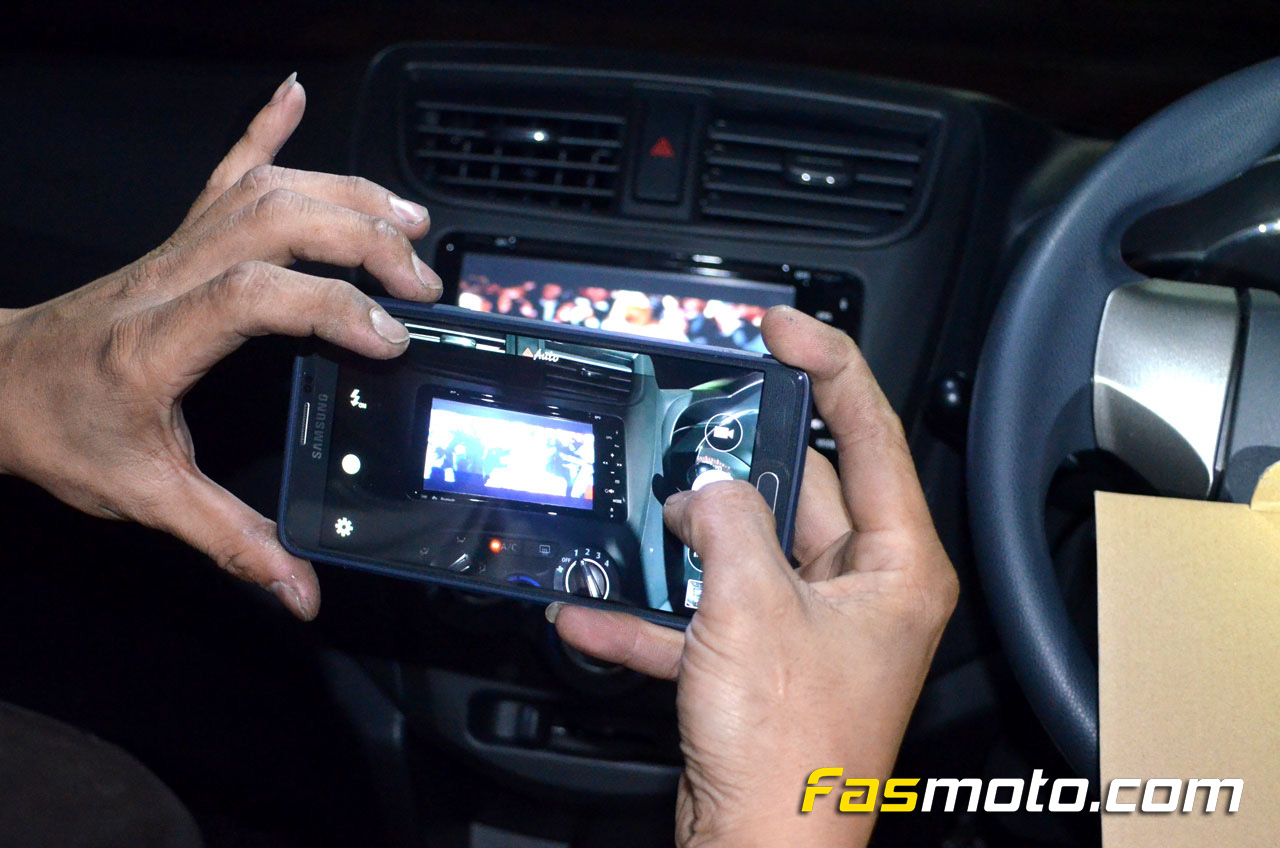
Above is the standard stereo that came with the car. You can easily remove and install a double DIN receiver. However, if you choose to install a Toyota 200MM receiver, you will need to get the Perodua Axia Installation Dash Kit that will enable this. The owner of this Axia had such a receiver from another car that he wished to transfer to the Axia.
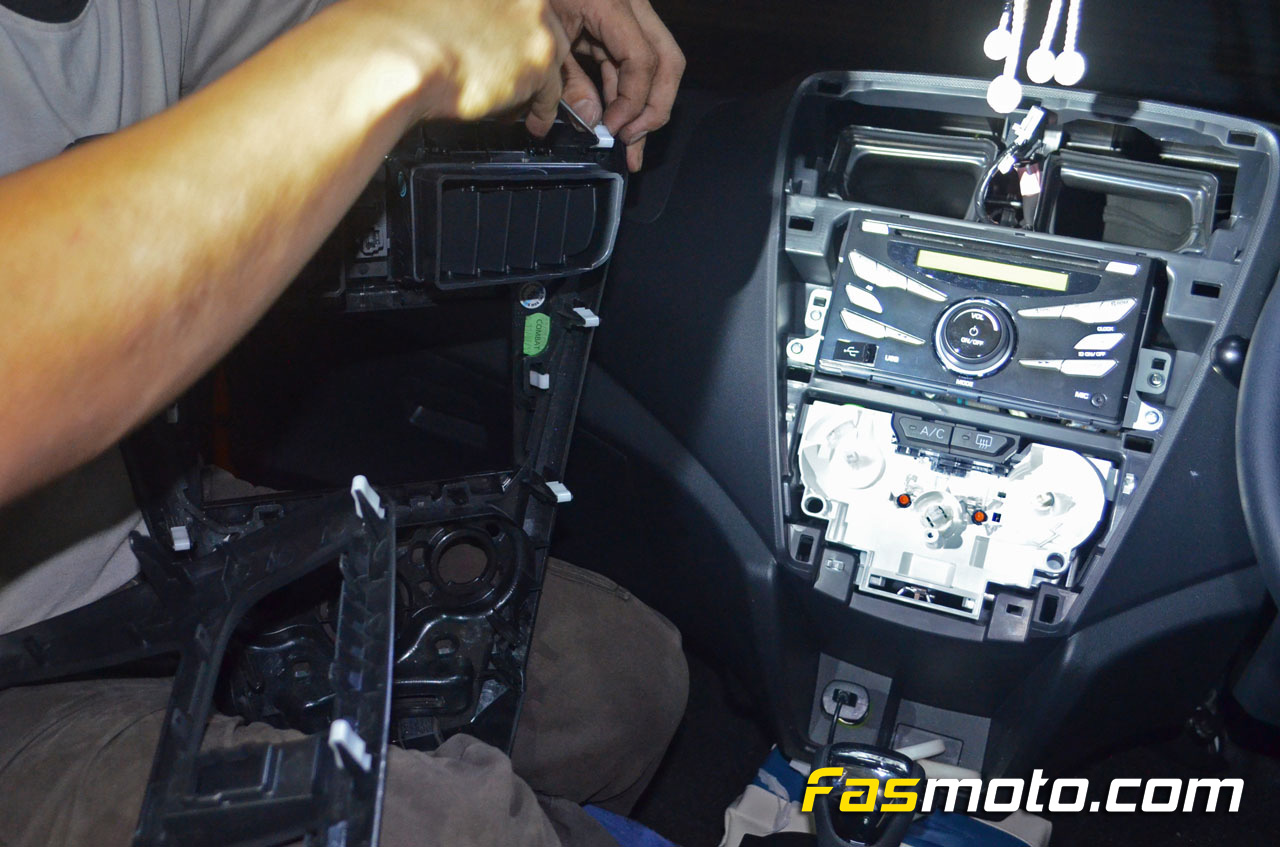
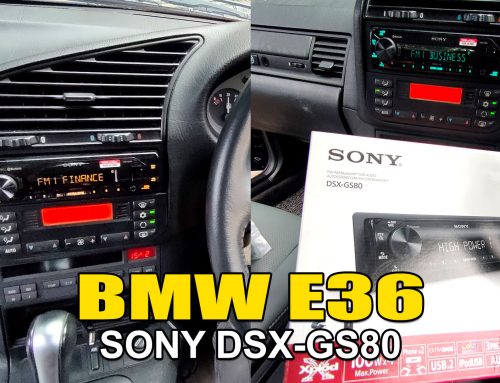
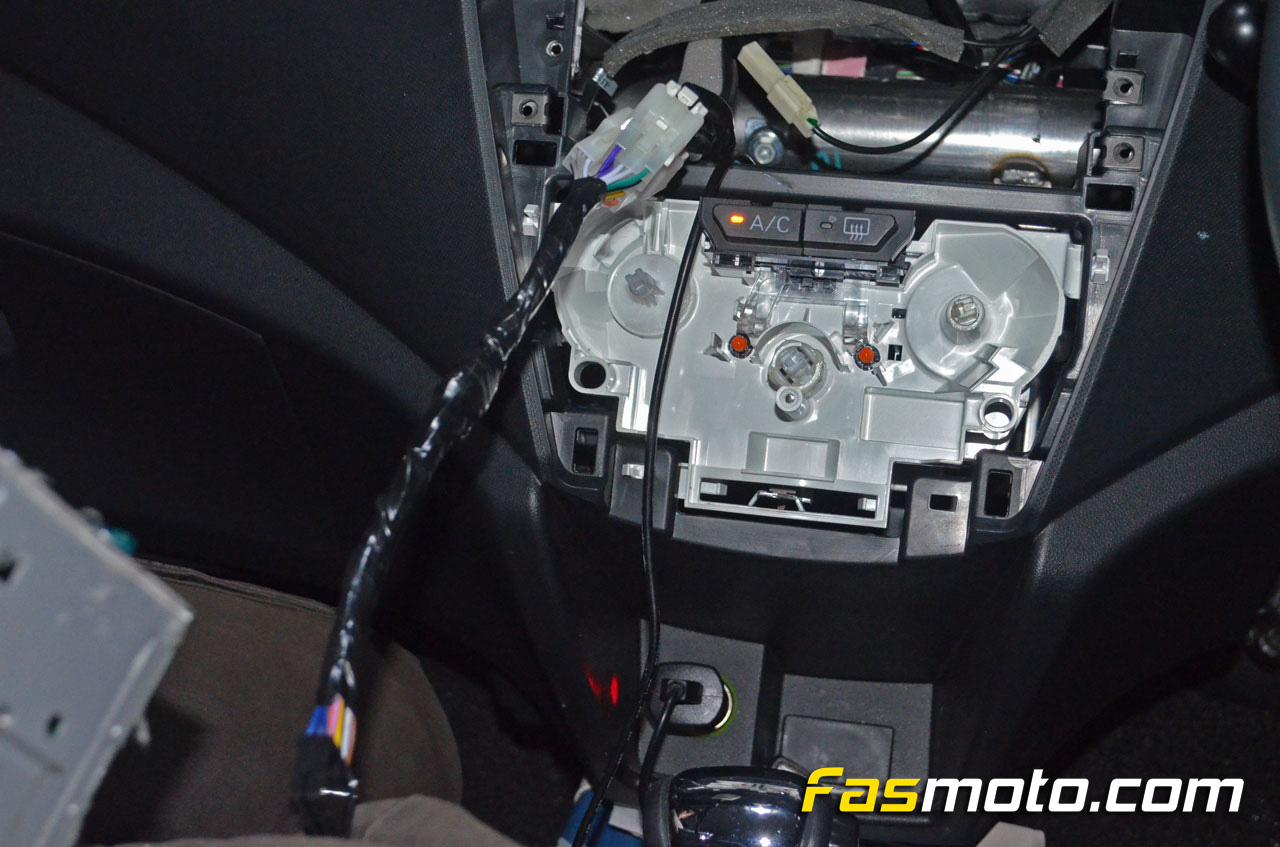
The stock dash kit comes off to make way for the aftermarket dash kit. Take note that depending on the dash kit you get, you may need to transfer some clips from the original, the A/C vents and the A/C control decals. This is the case for us as the aftermarket one we had did not come with the vents nor the decals.
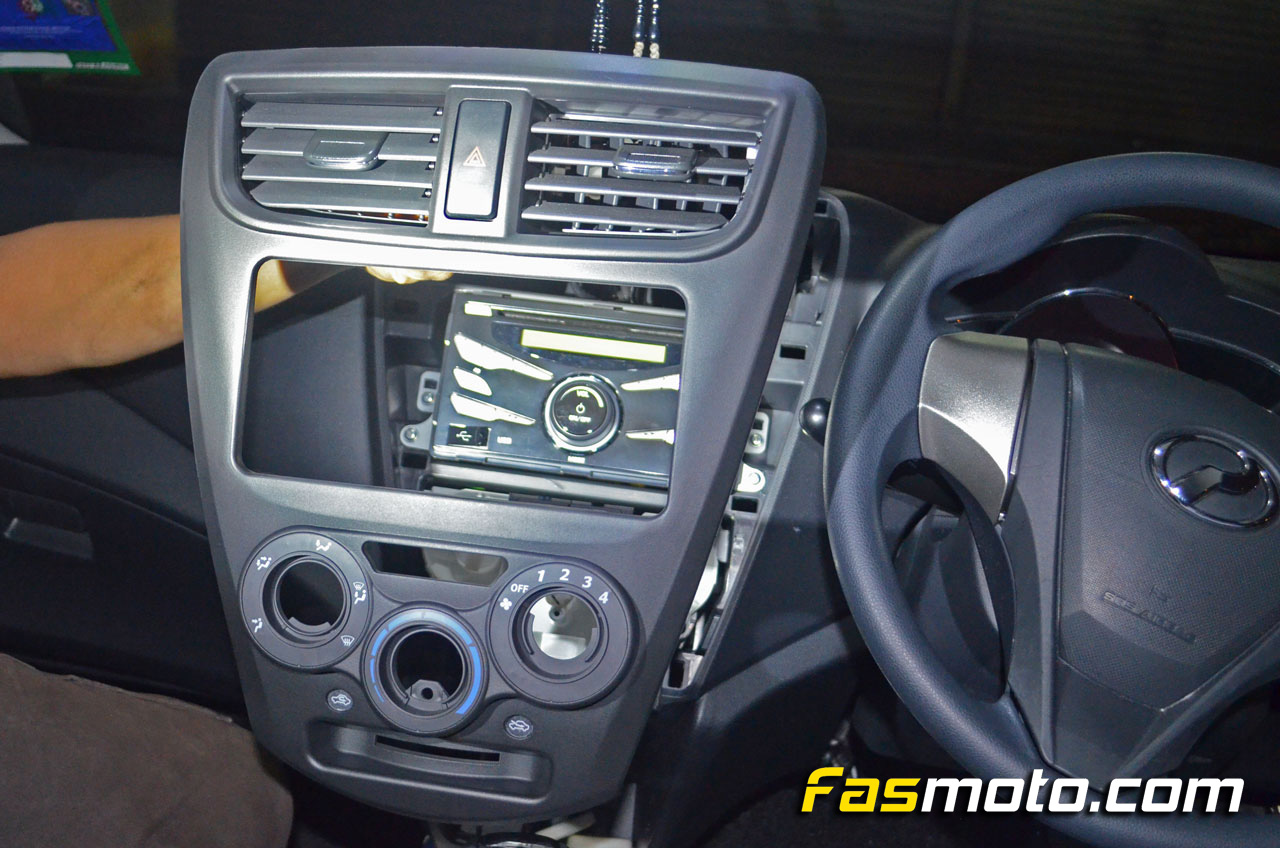
The decals match perfectly to the aftermarket dash kit as you can see above. Next, we need to get the original receiver out and put the new one in.
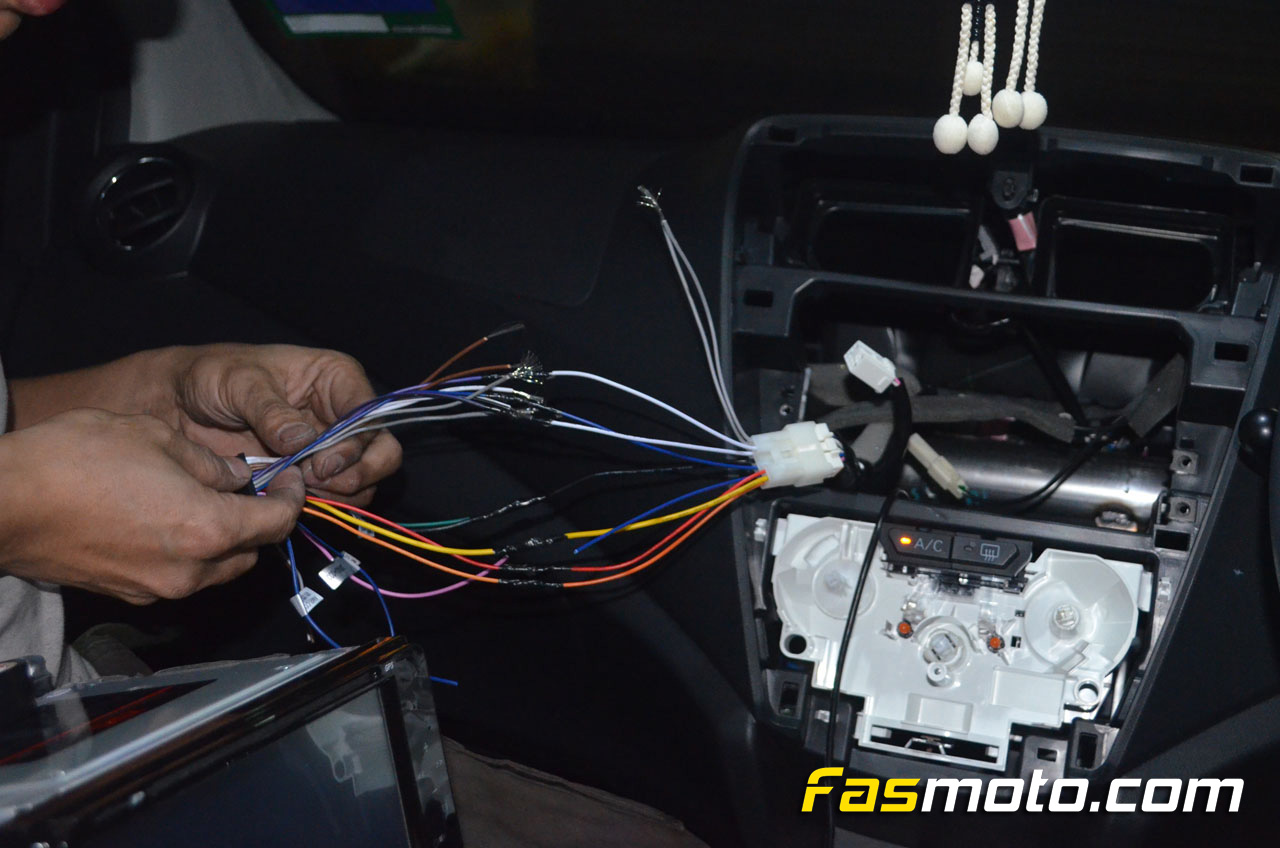
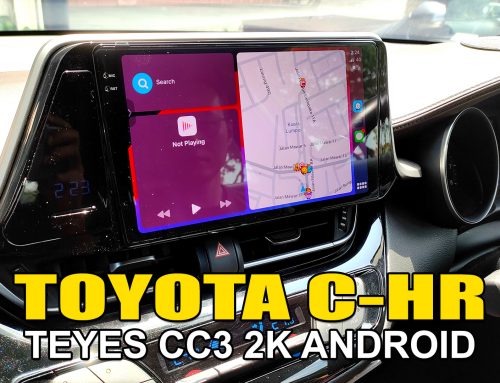
Once the stock receiver has been removed, we get started on wiring up the harness. In this case, we used the Toyota Stereo Harness Adapter (Female) which enabled the wiring to be done without having to cut in to the original stereo harness. We highly recommend this as it not only preserves the original harness, but also makes wiring up the units easier and neater.
Once all connections are done, we secure it with some tape to keep it neat.
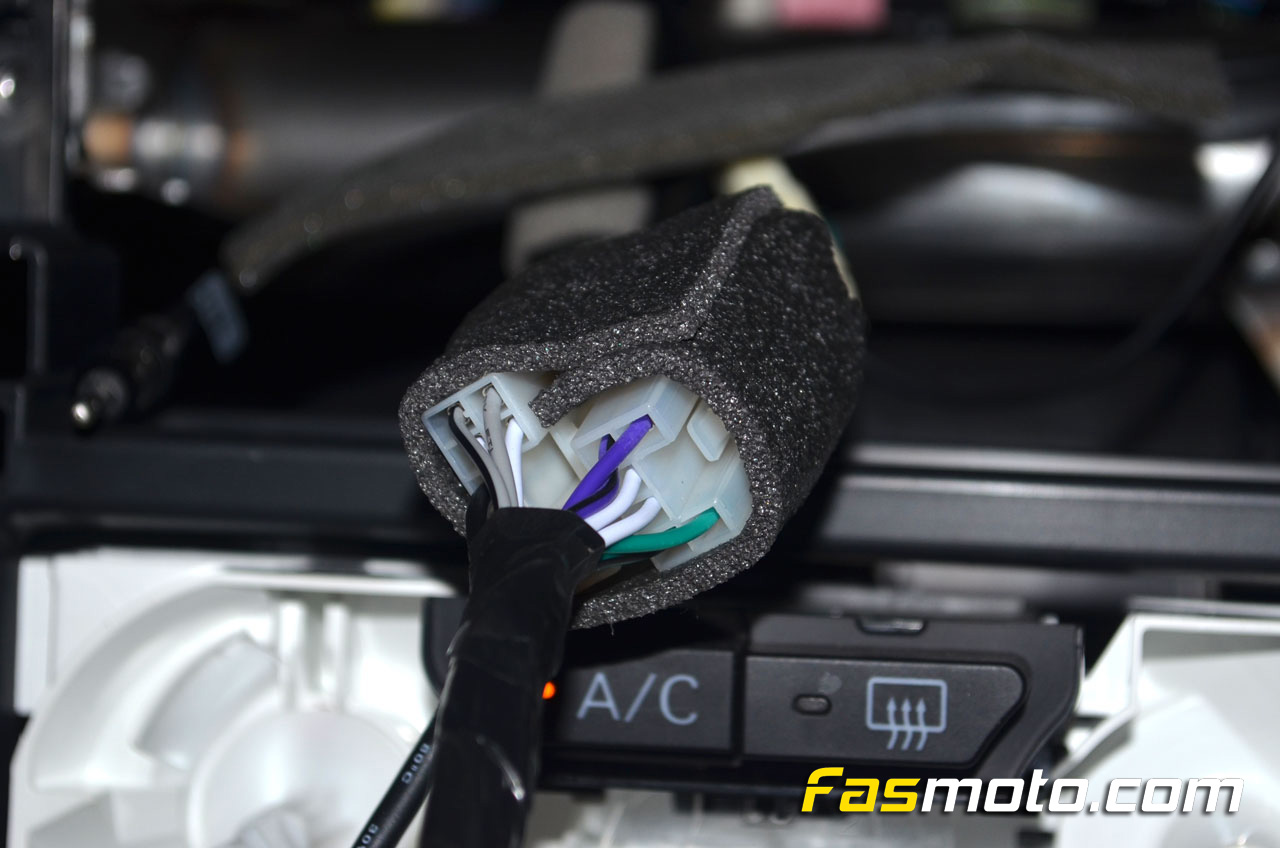
We even went the distance of adding foam to the plastic connectors for that OE look. (Good to have an OCD installer :-P)
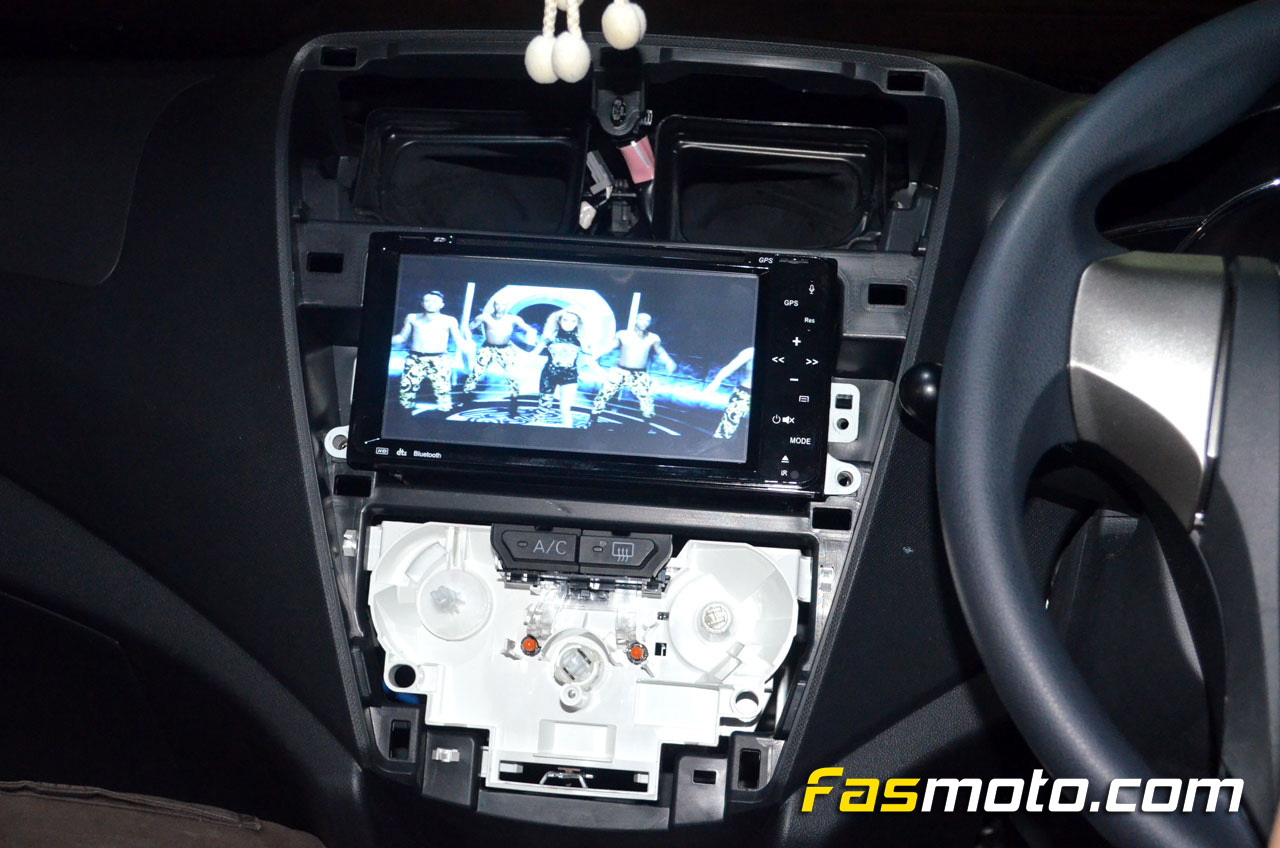
In goes the Toyota 200MM Stereo. We first test and make sure everything is in order before proceeding to snap the dash kit in place.
Jobs done. Another one for the books!
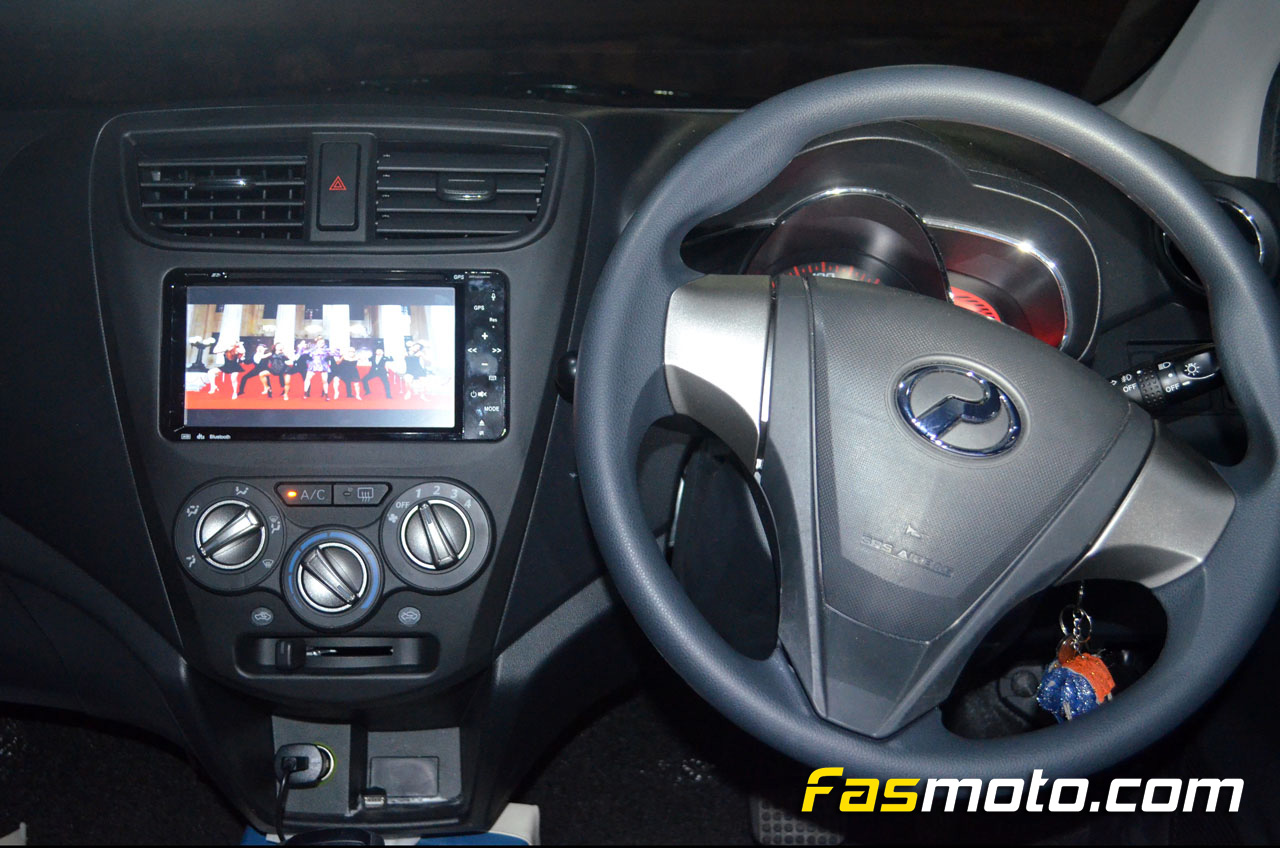
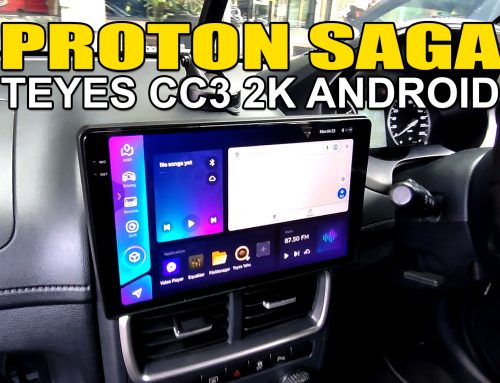
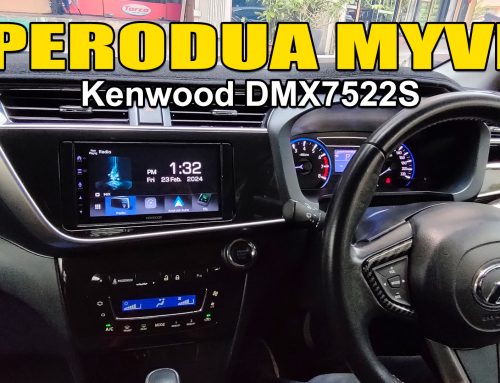
Here is how it looks in the end. Nice and clean, just the way we like it 🙂
Buy The Perodua Axia Stereo Installation Dash Kit for Toyota 200MM sized receivers
For installation enquiries, please contact:
1) David +60196593061, E-mail: [email protected]
2) YC +60195692664, E-mail: [email protected]
Our installation center is located here: www.fasmoto.com/contact-us