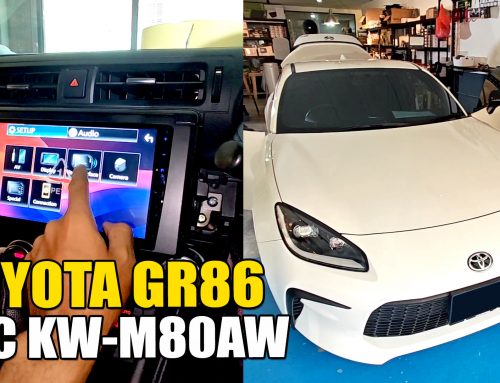
A friend of ours stopped by to get his Toyota Camry ACV50 factory head unit replaced along with adding an additional front parking camera. His stereo of choice was the Sony XAV-AX1000 which features Apple CarPlay. Because this Camry is mostly driven by his wife, he felt that this Sony would fulfil his wife’s needs in terms of music, navigation and also hands-free usablity. On top of that, he wanted to avoid any units with complicated user interfaces and long boot times. Since his wife uses the iPhone exclusively, Apple CarPlay was crucial for this particular user.
He also already had a parking assist system in the form of a rear camera and a rear view mirror with built-in monitor. With the new Sony, we will be removing the the rear view monitor. On top of that, we will be transplanting the rear camera to the front and will put in a brand new camera to the rear. Reason being that he wanted a rear camera that was more solid and didn’t need adjusting in the event the carwash or someone else accidentally touched it.
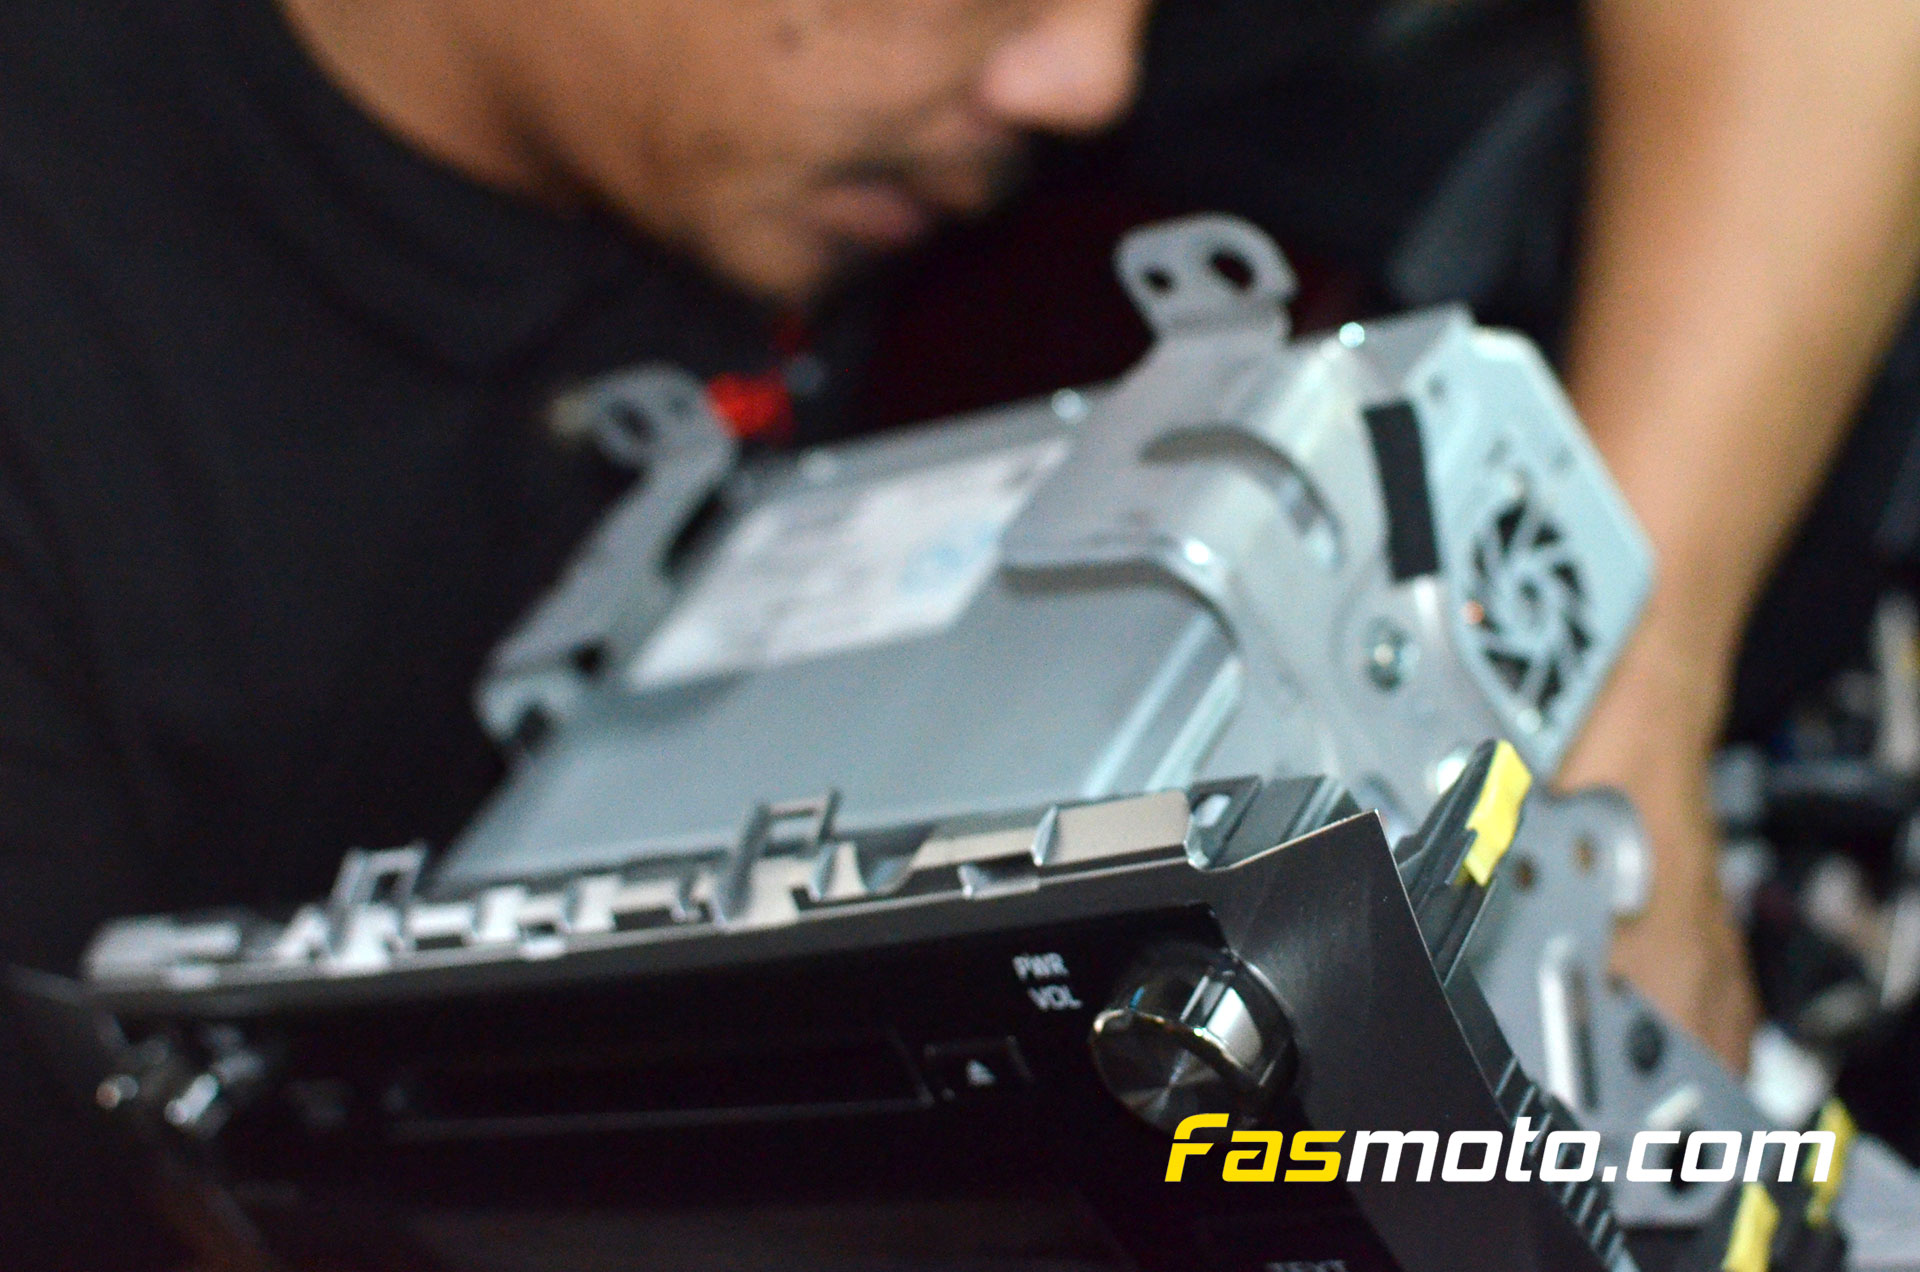
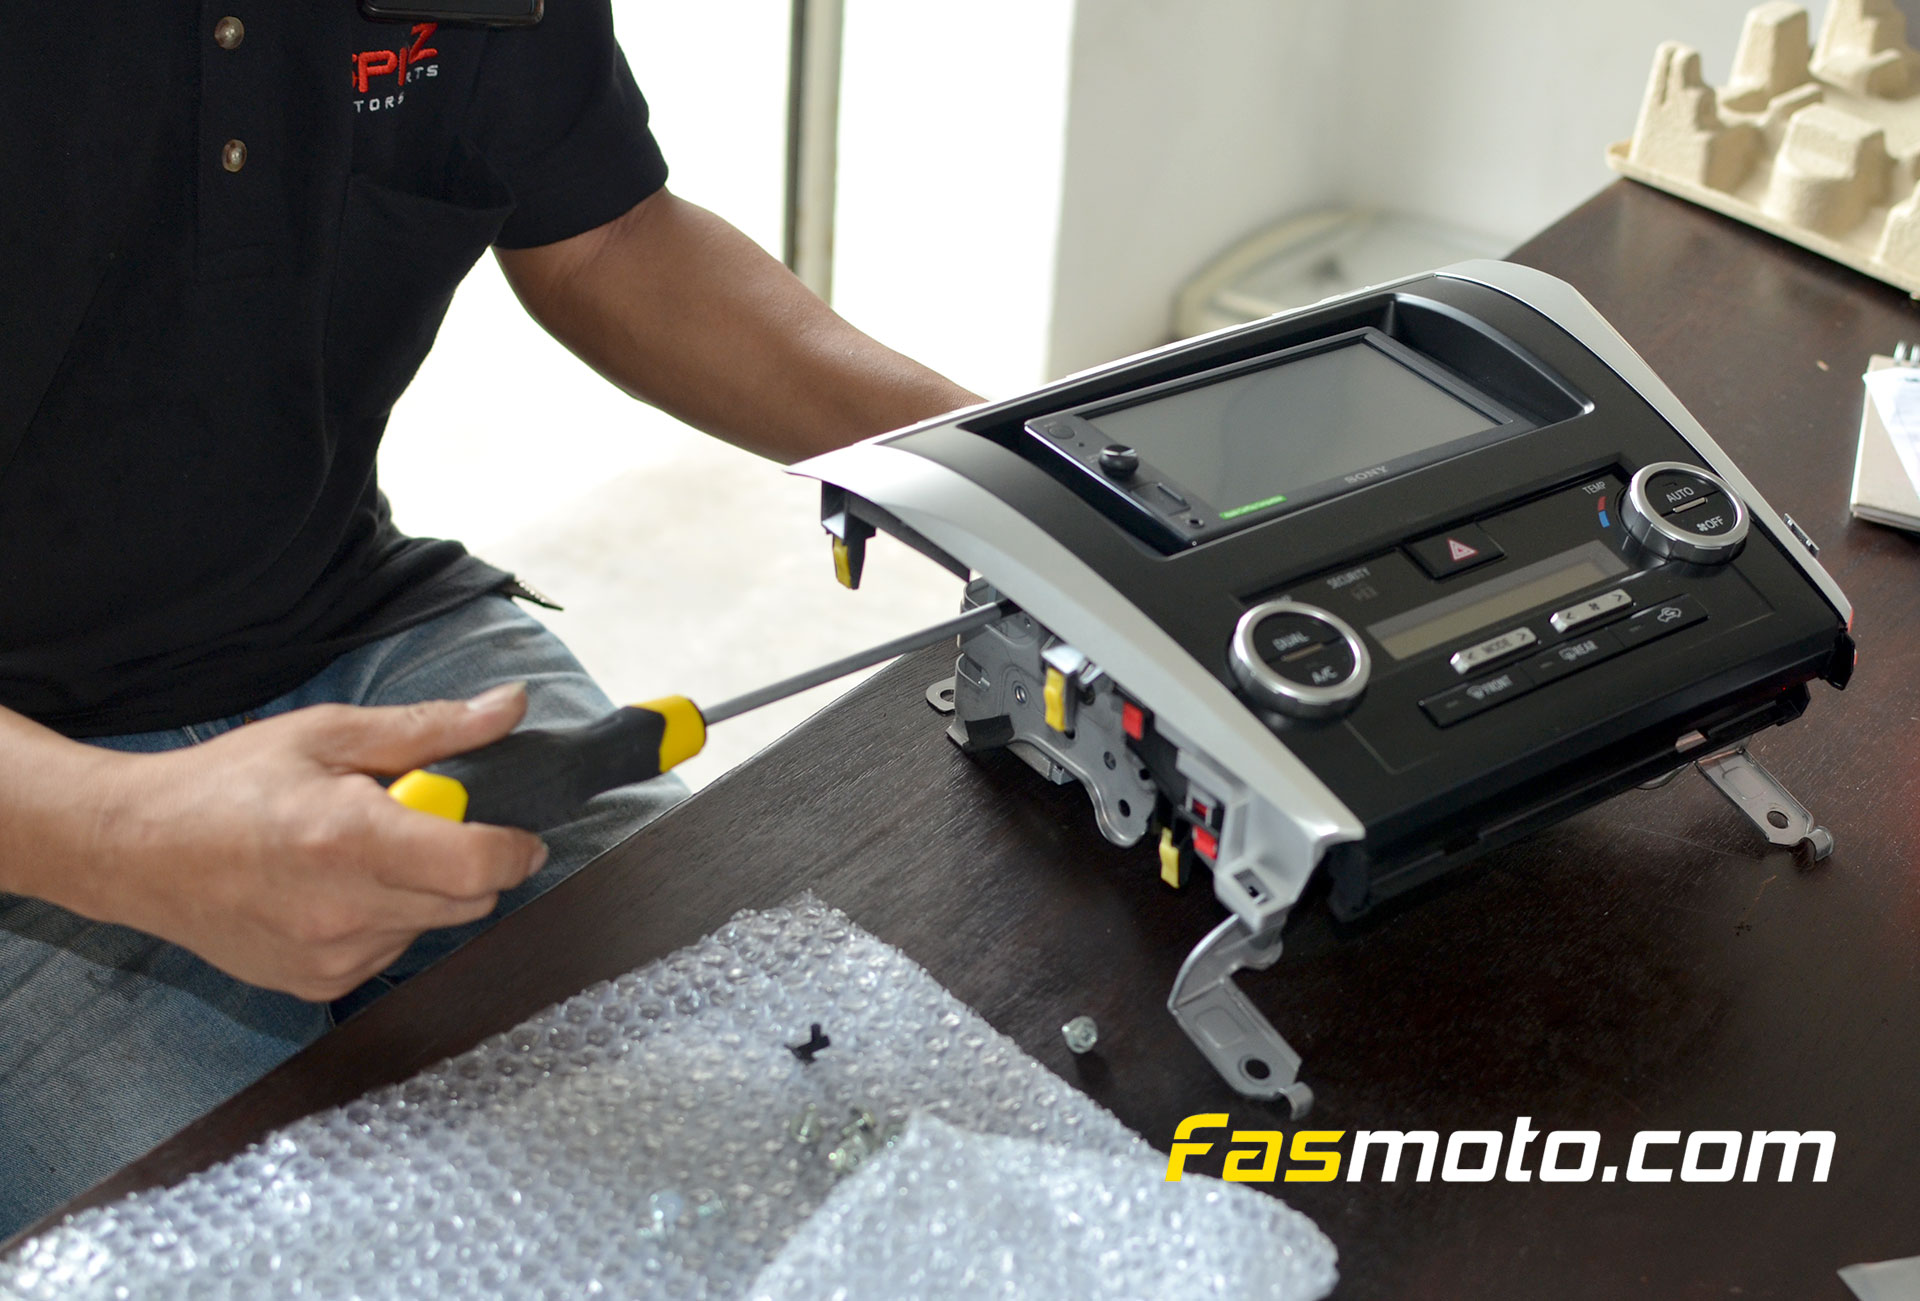
As usual the first step would be removal of the factory stereo.
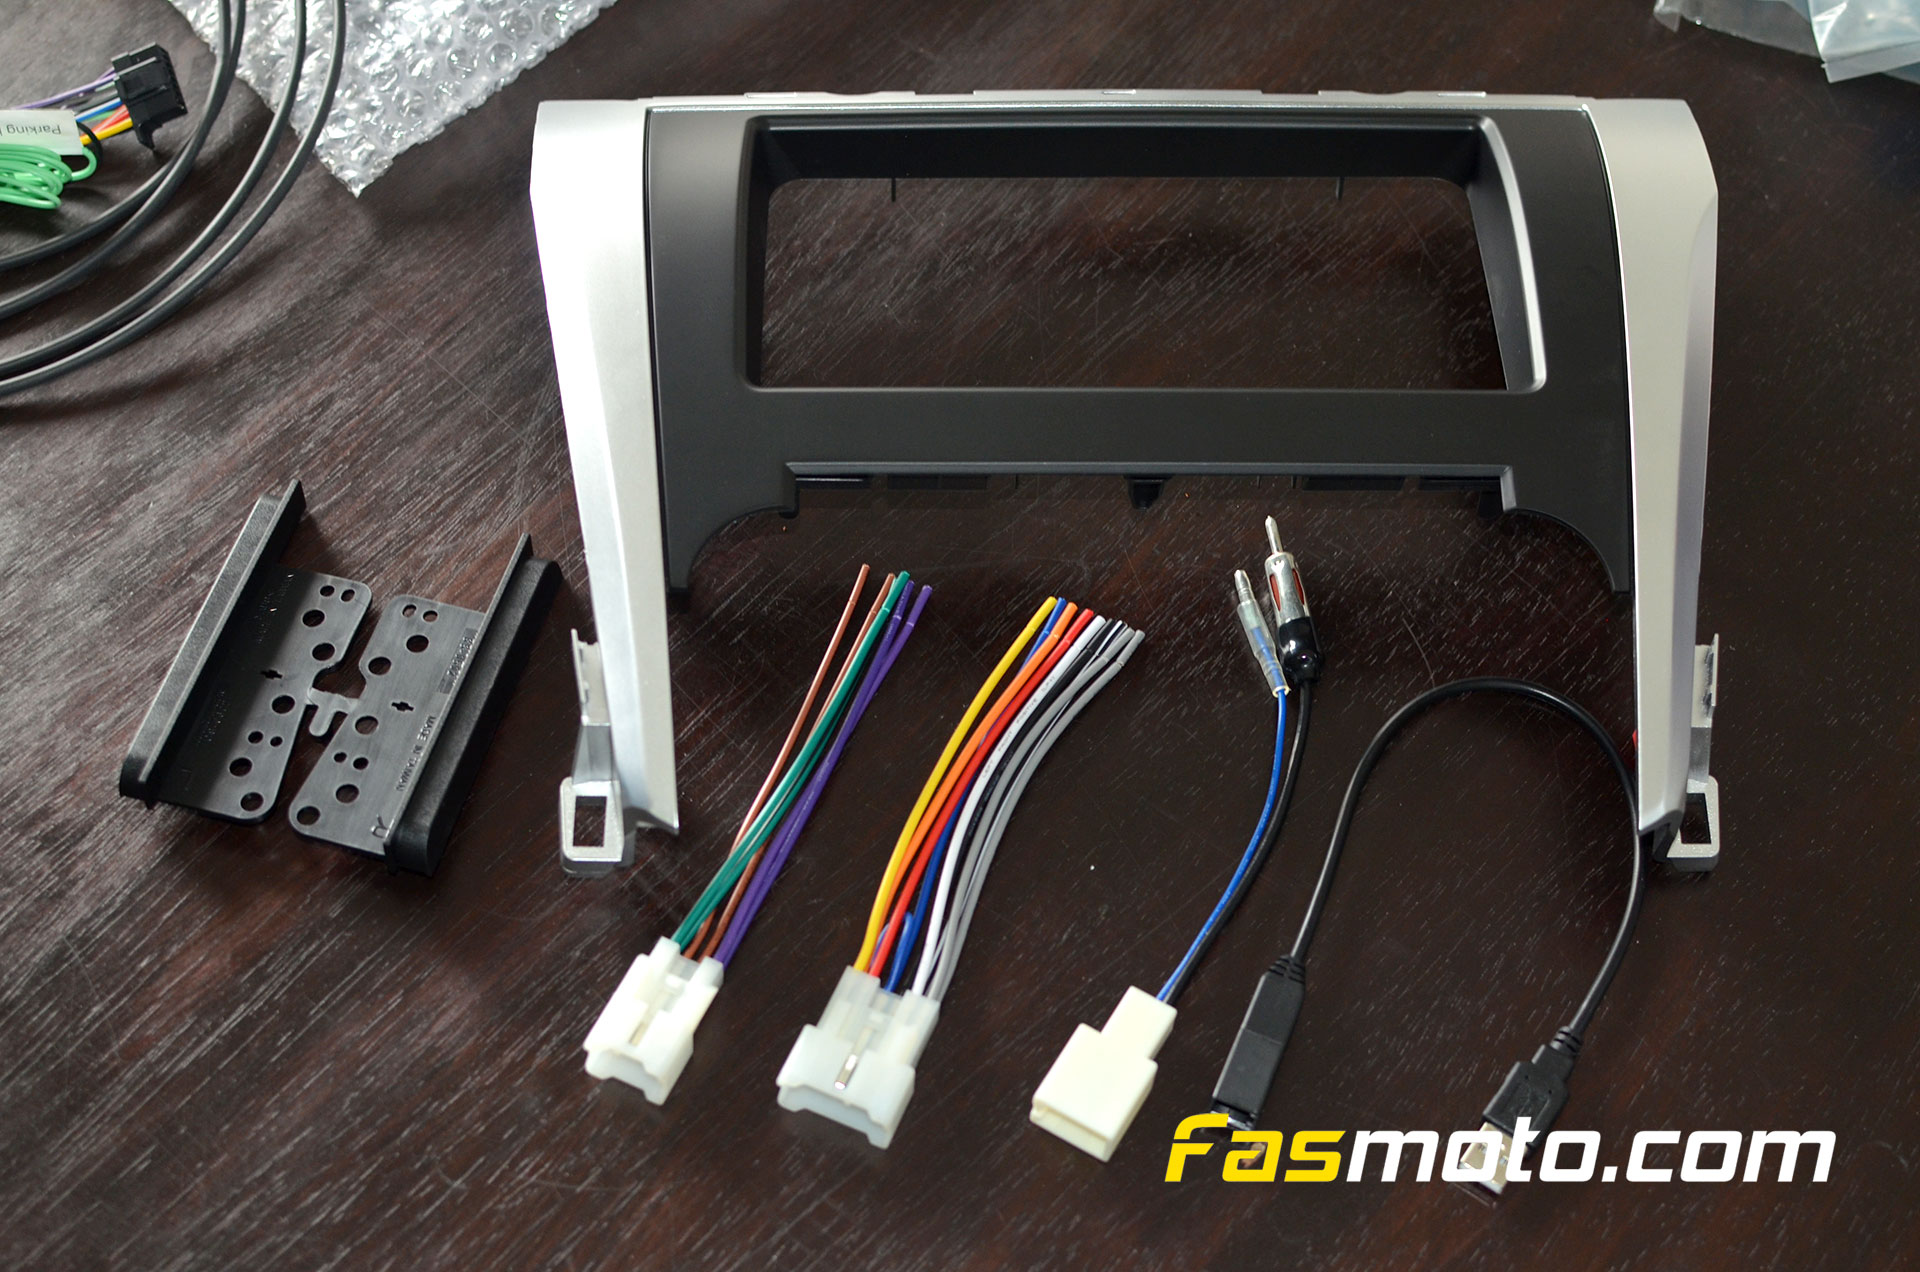
Some of the items needed for this install such as the dash kit, harness adapter, antenna adaper and side spacers. For a list of items used in this install, kindly scroll to the bottom of the page.

Once we have the stereo out, then we get to separating the stereo from the climate control unit.
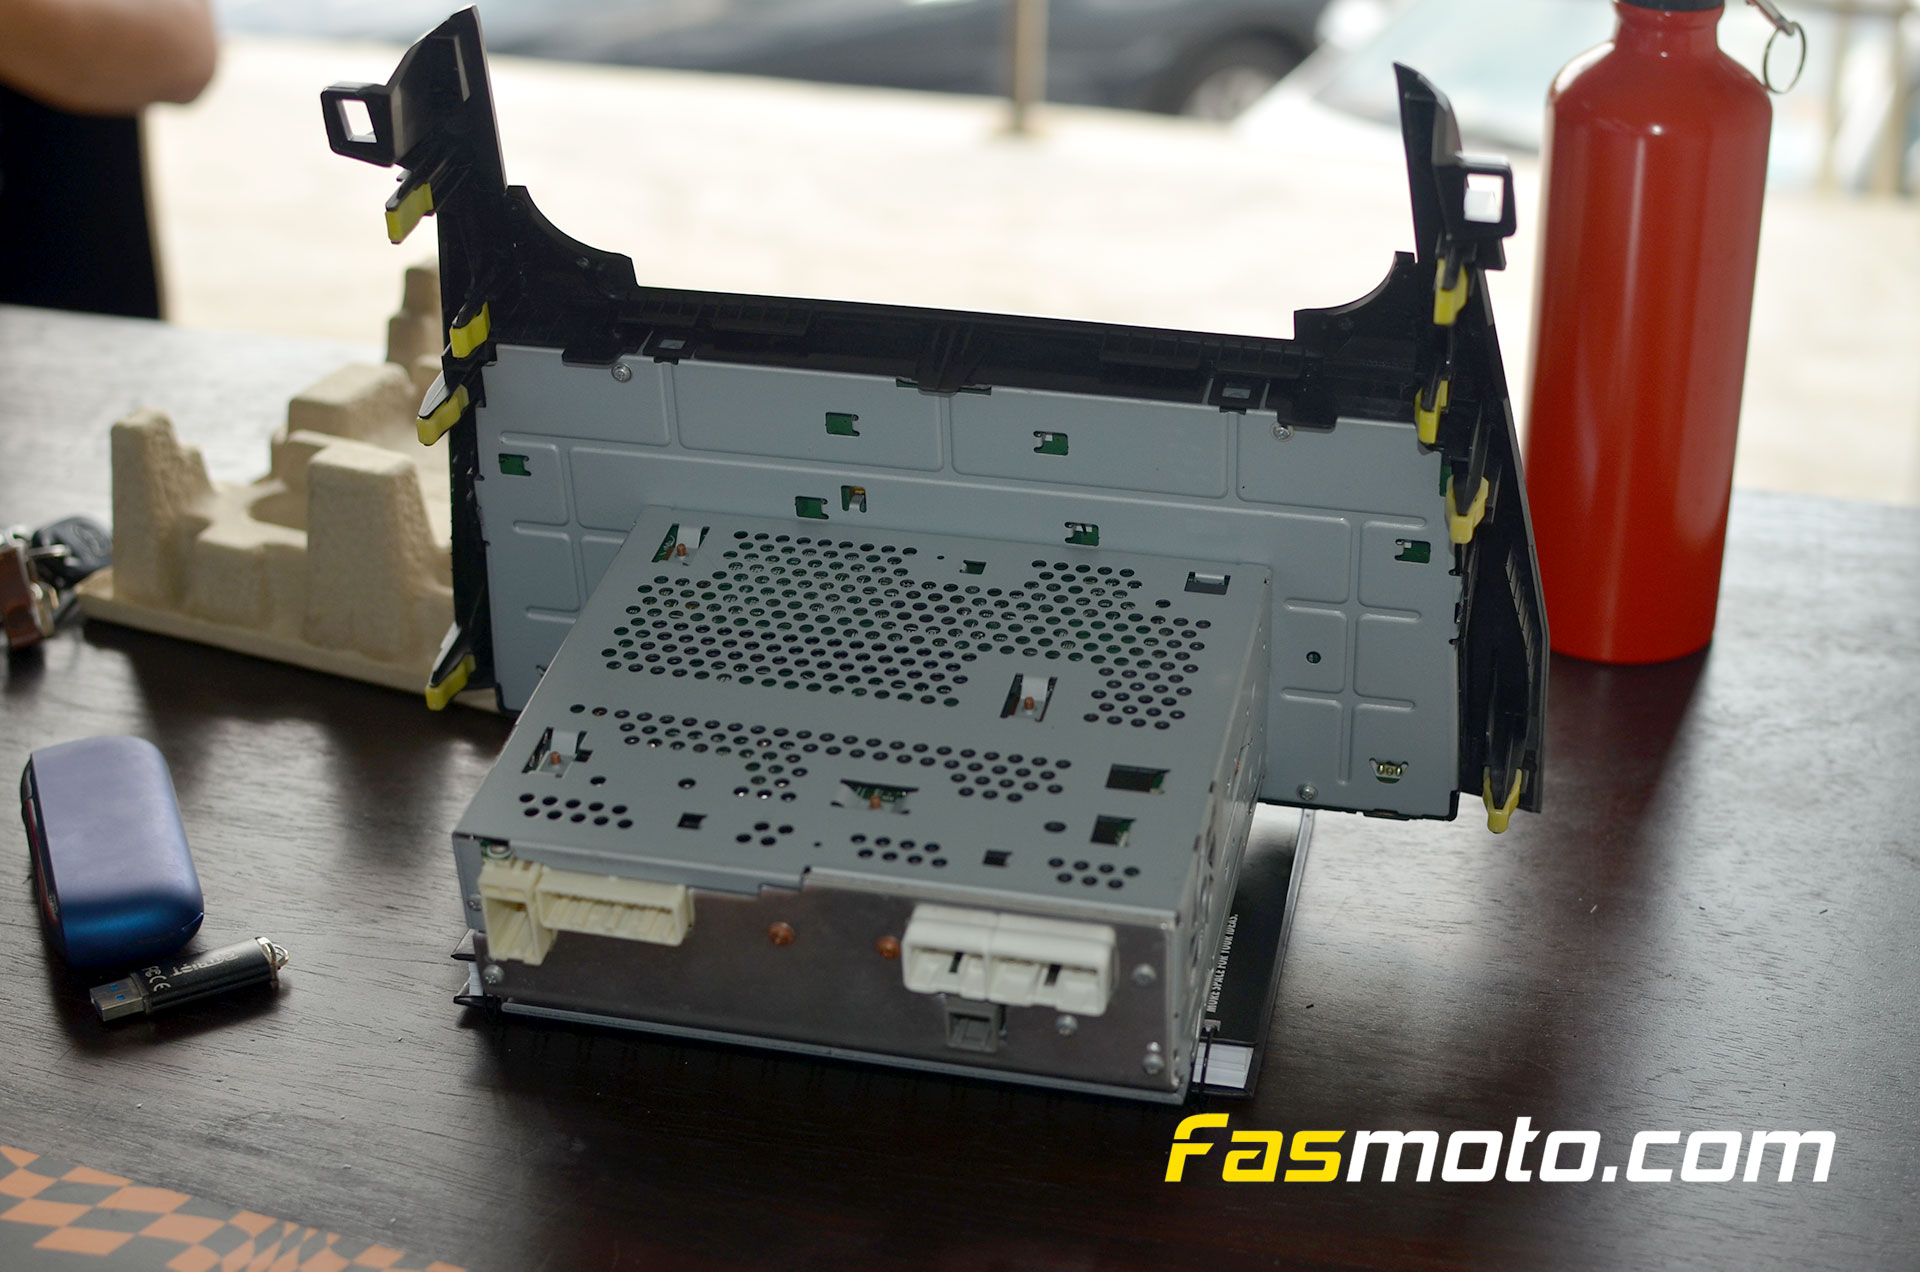
Rear view of the Toyota Camry ACV50 factory stereo head unit.
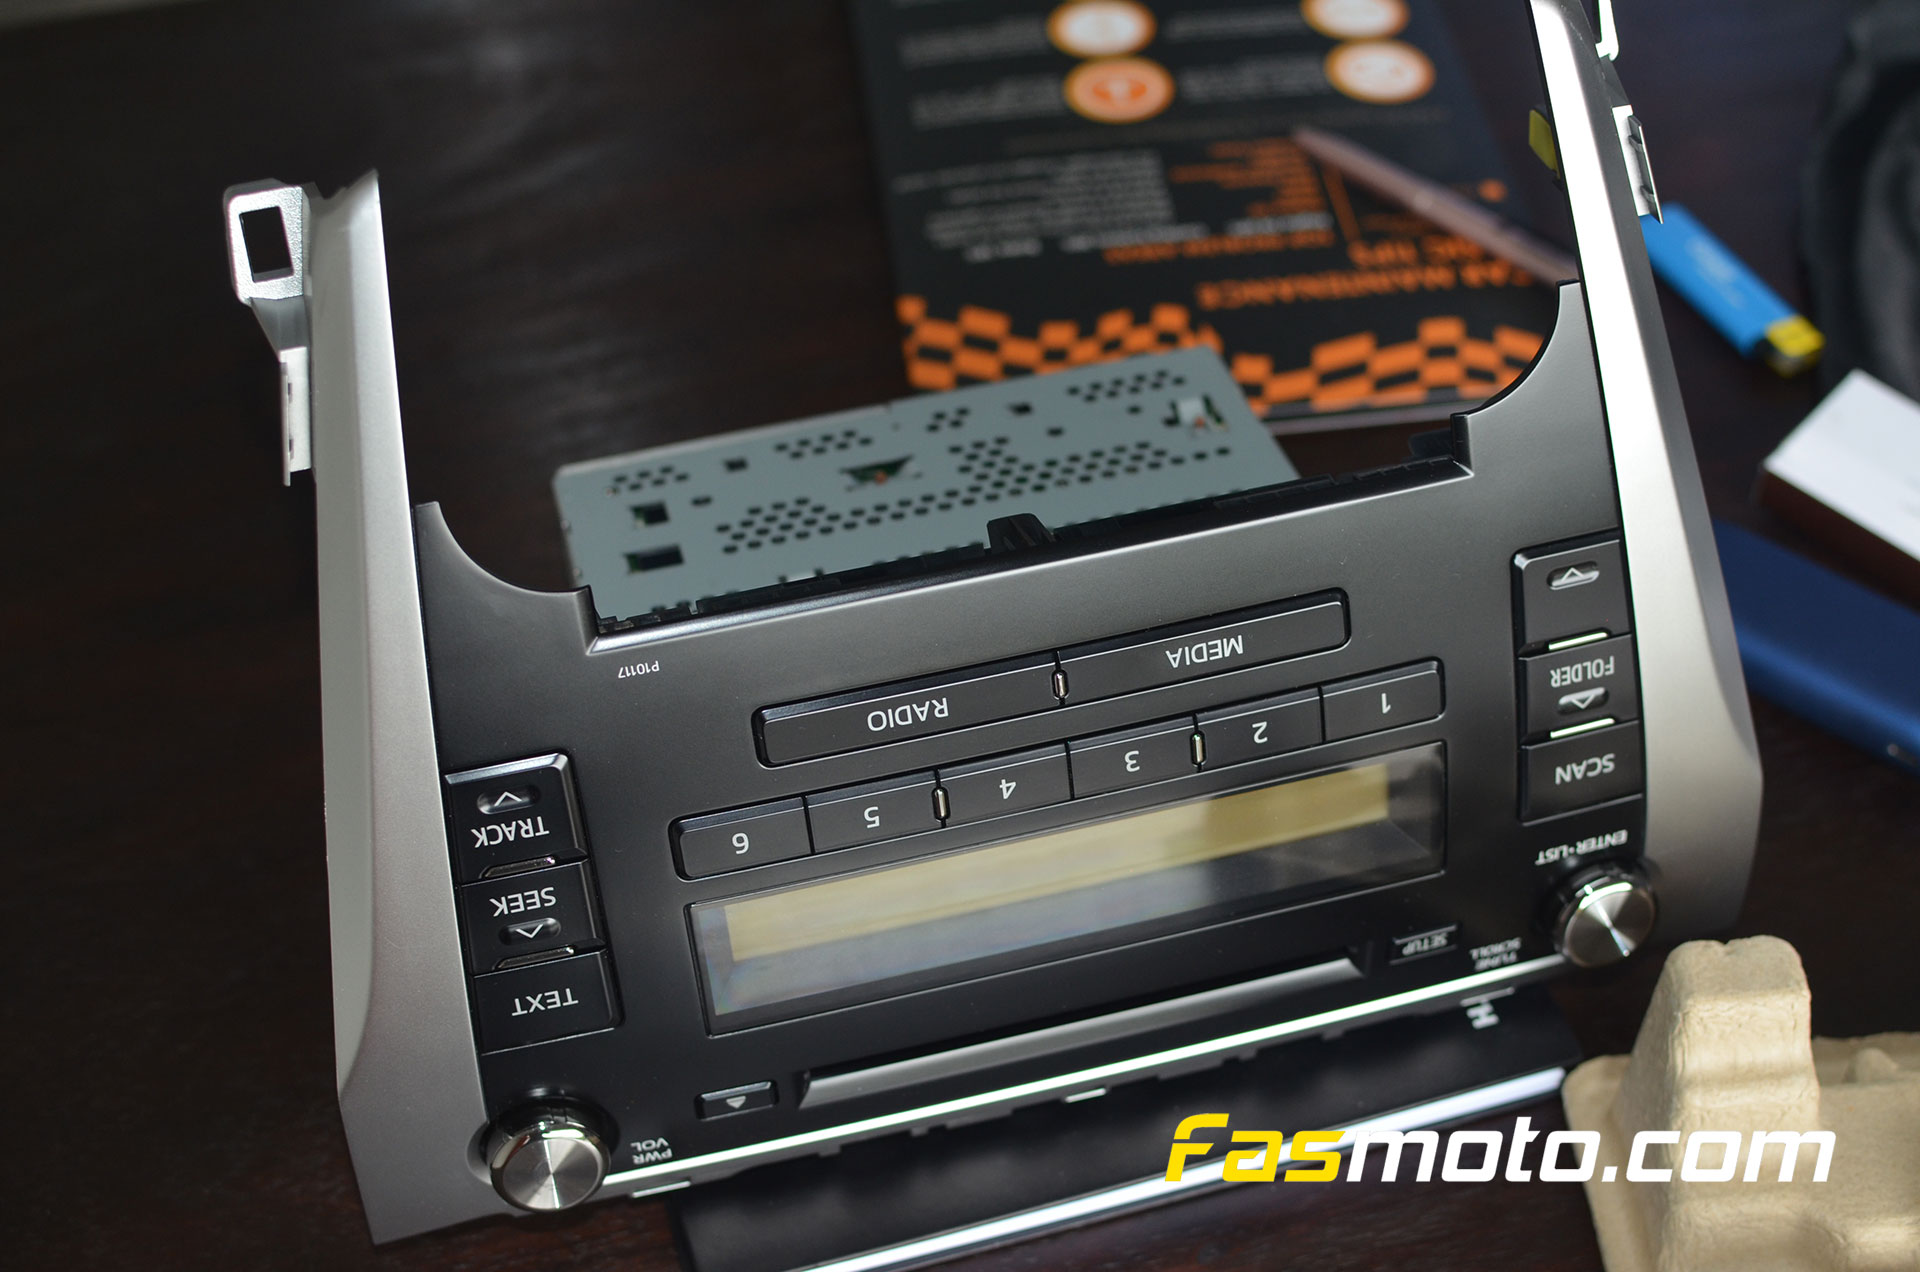
Here is the front view of the factory stereo head unit.
Attaching the Sony XAV-AX1000 to the Toyota Camry Dash kit. In most cases, the factory brackets are reused for the install.
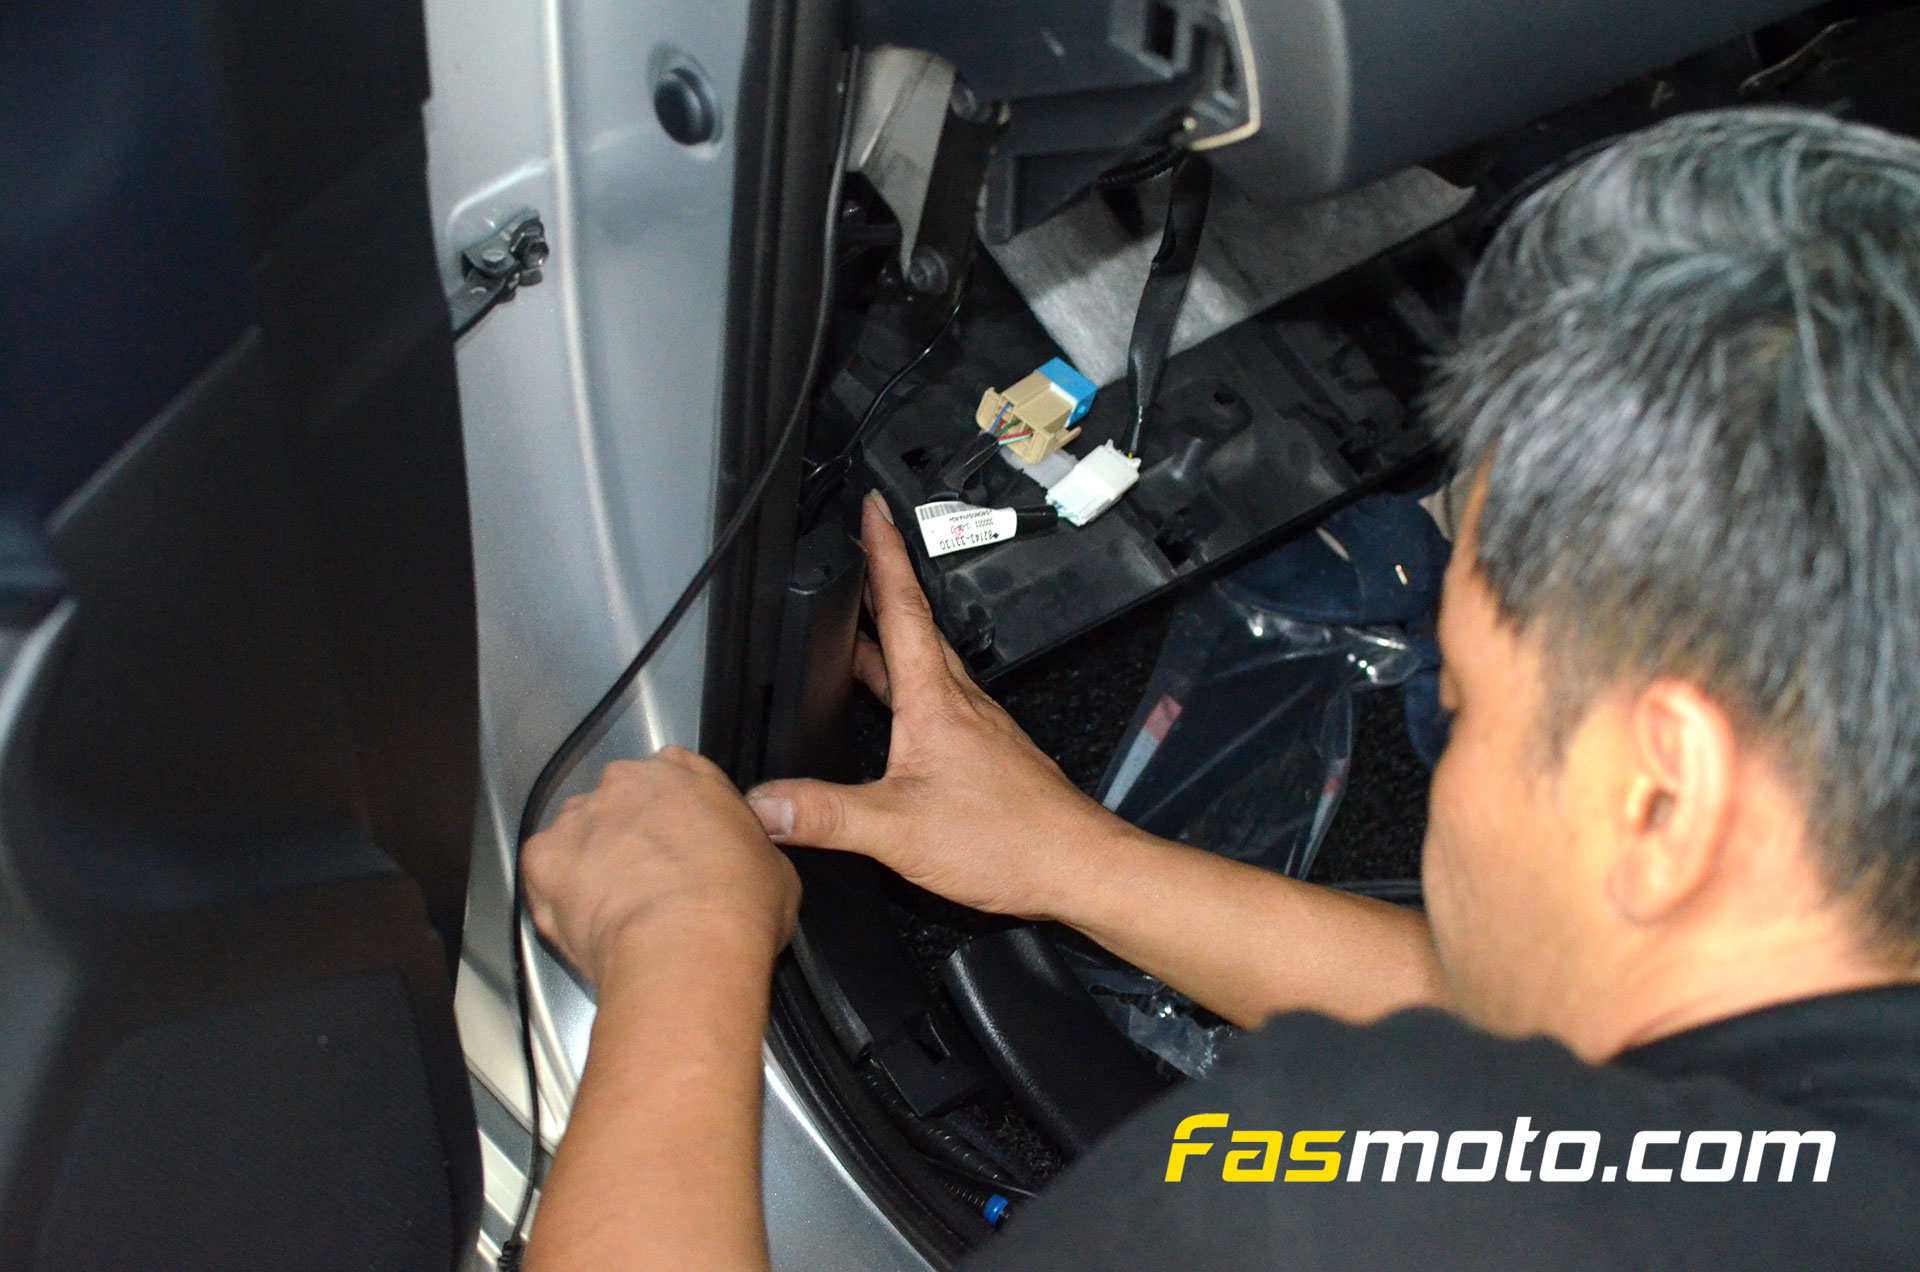
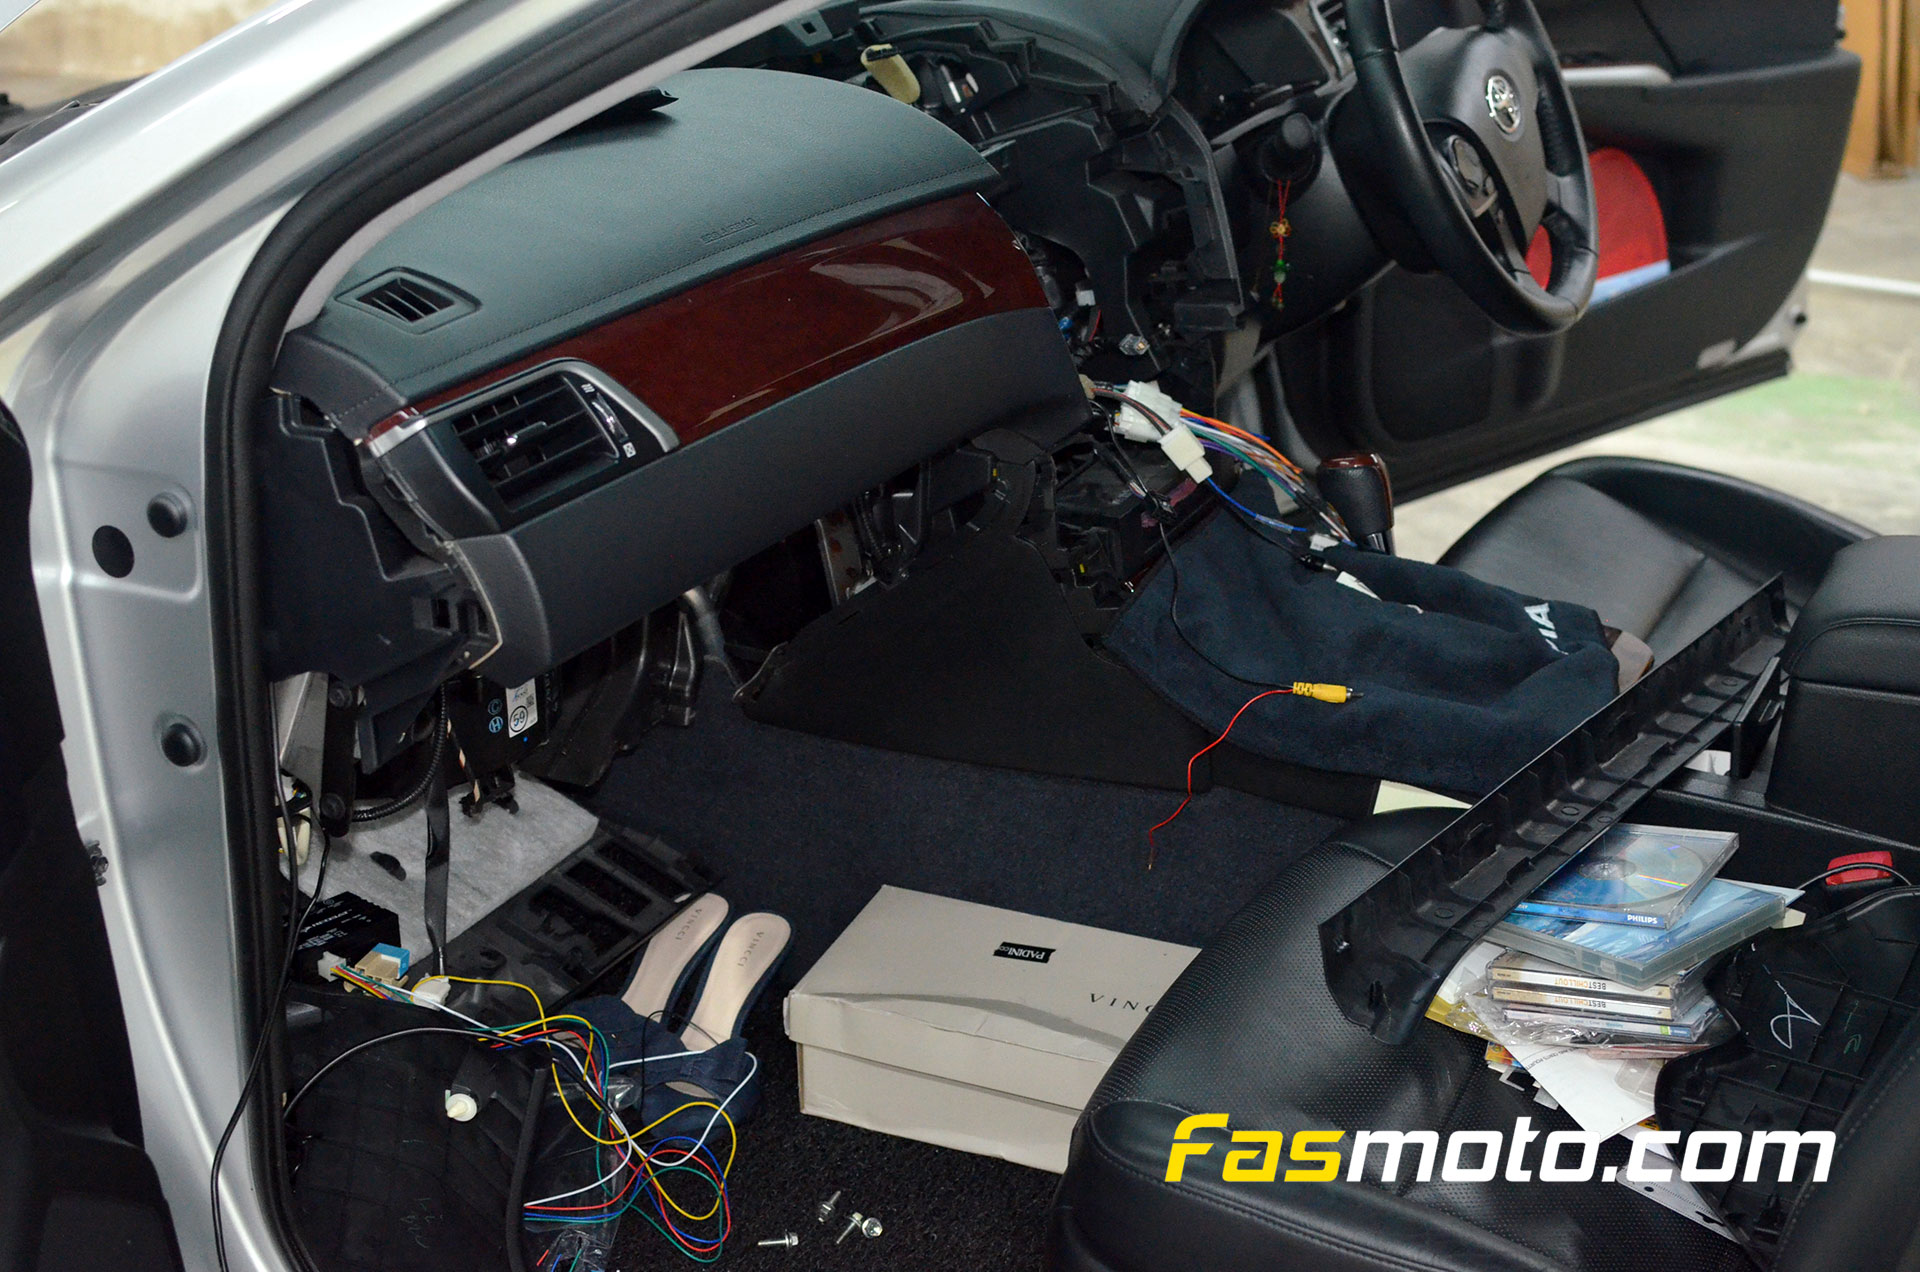
When working on parking cameras, we will usually need to route wires from the stereo to the front and rear of the car.
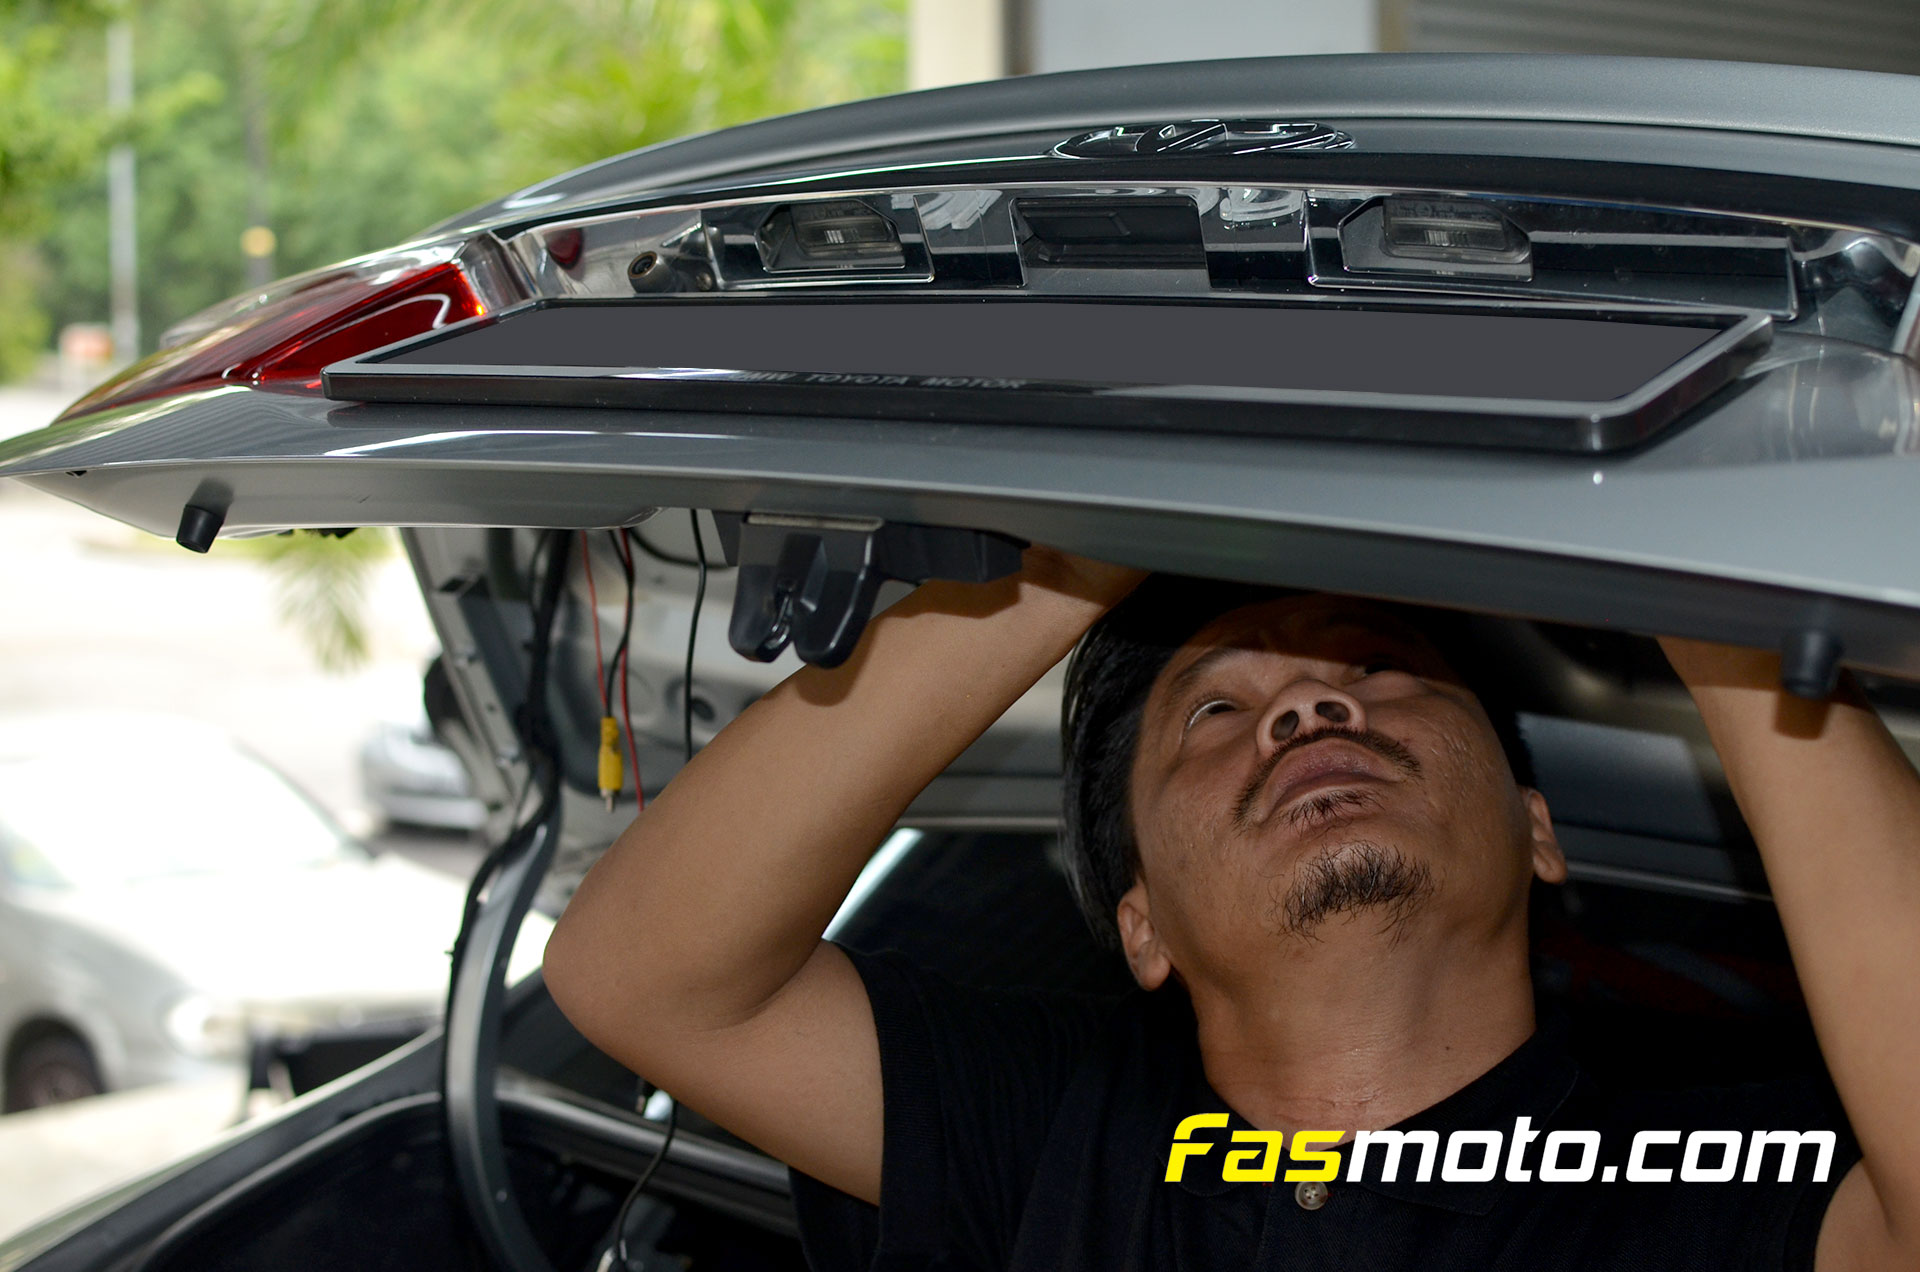
Time to remove the rear camera.
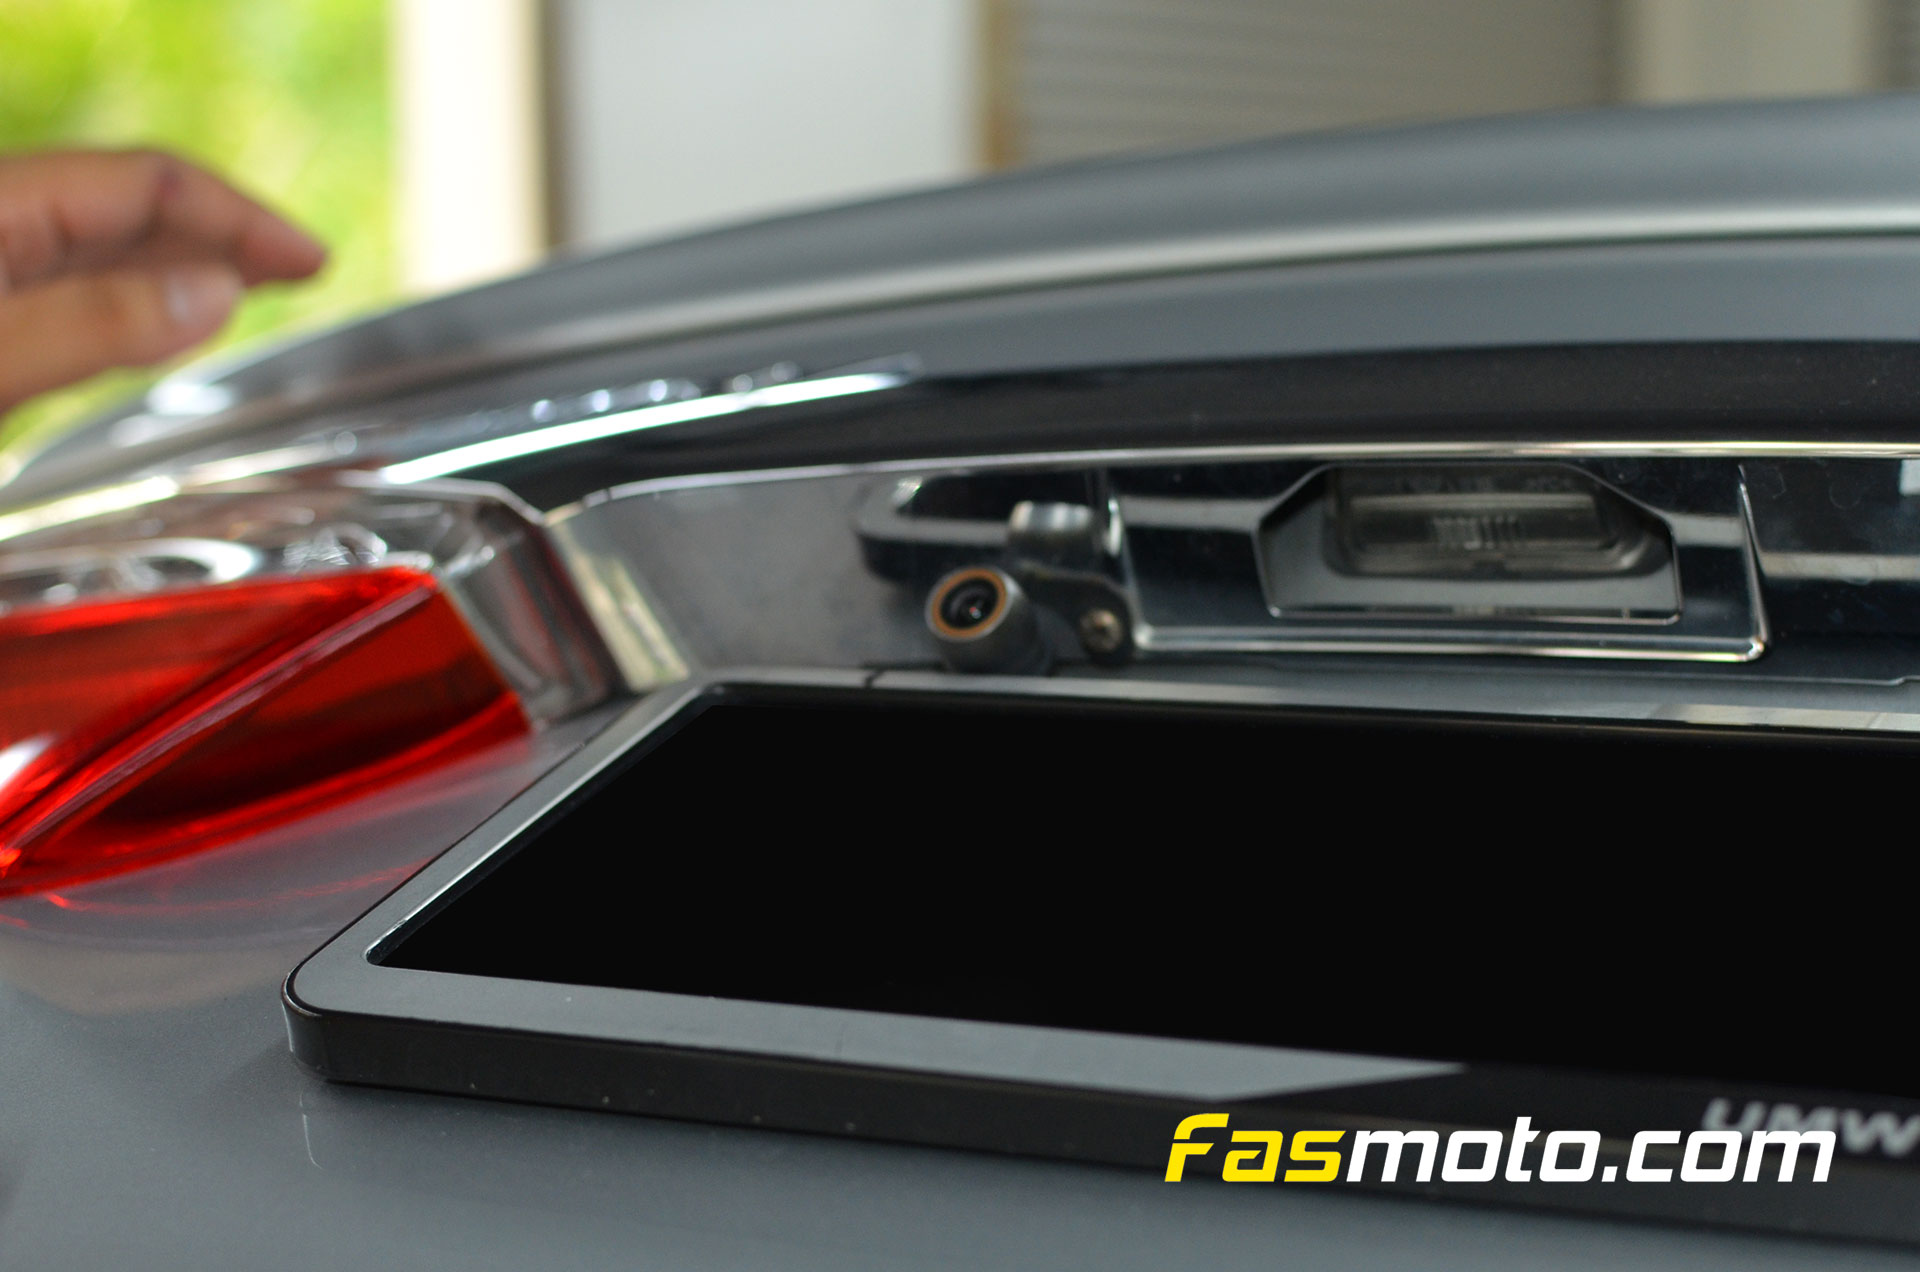
This camera from his previous system will be removed and installed as the front camera instead.
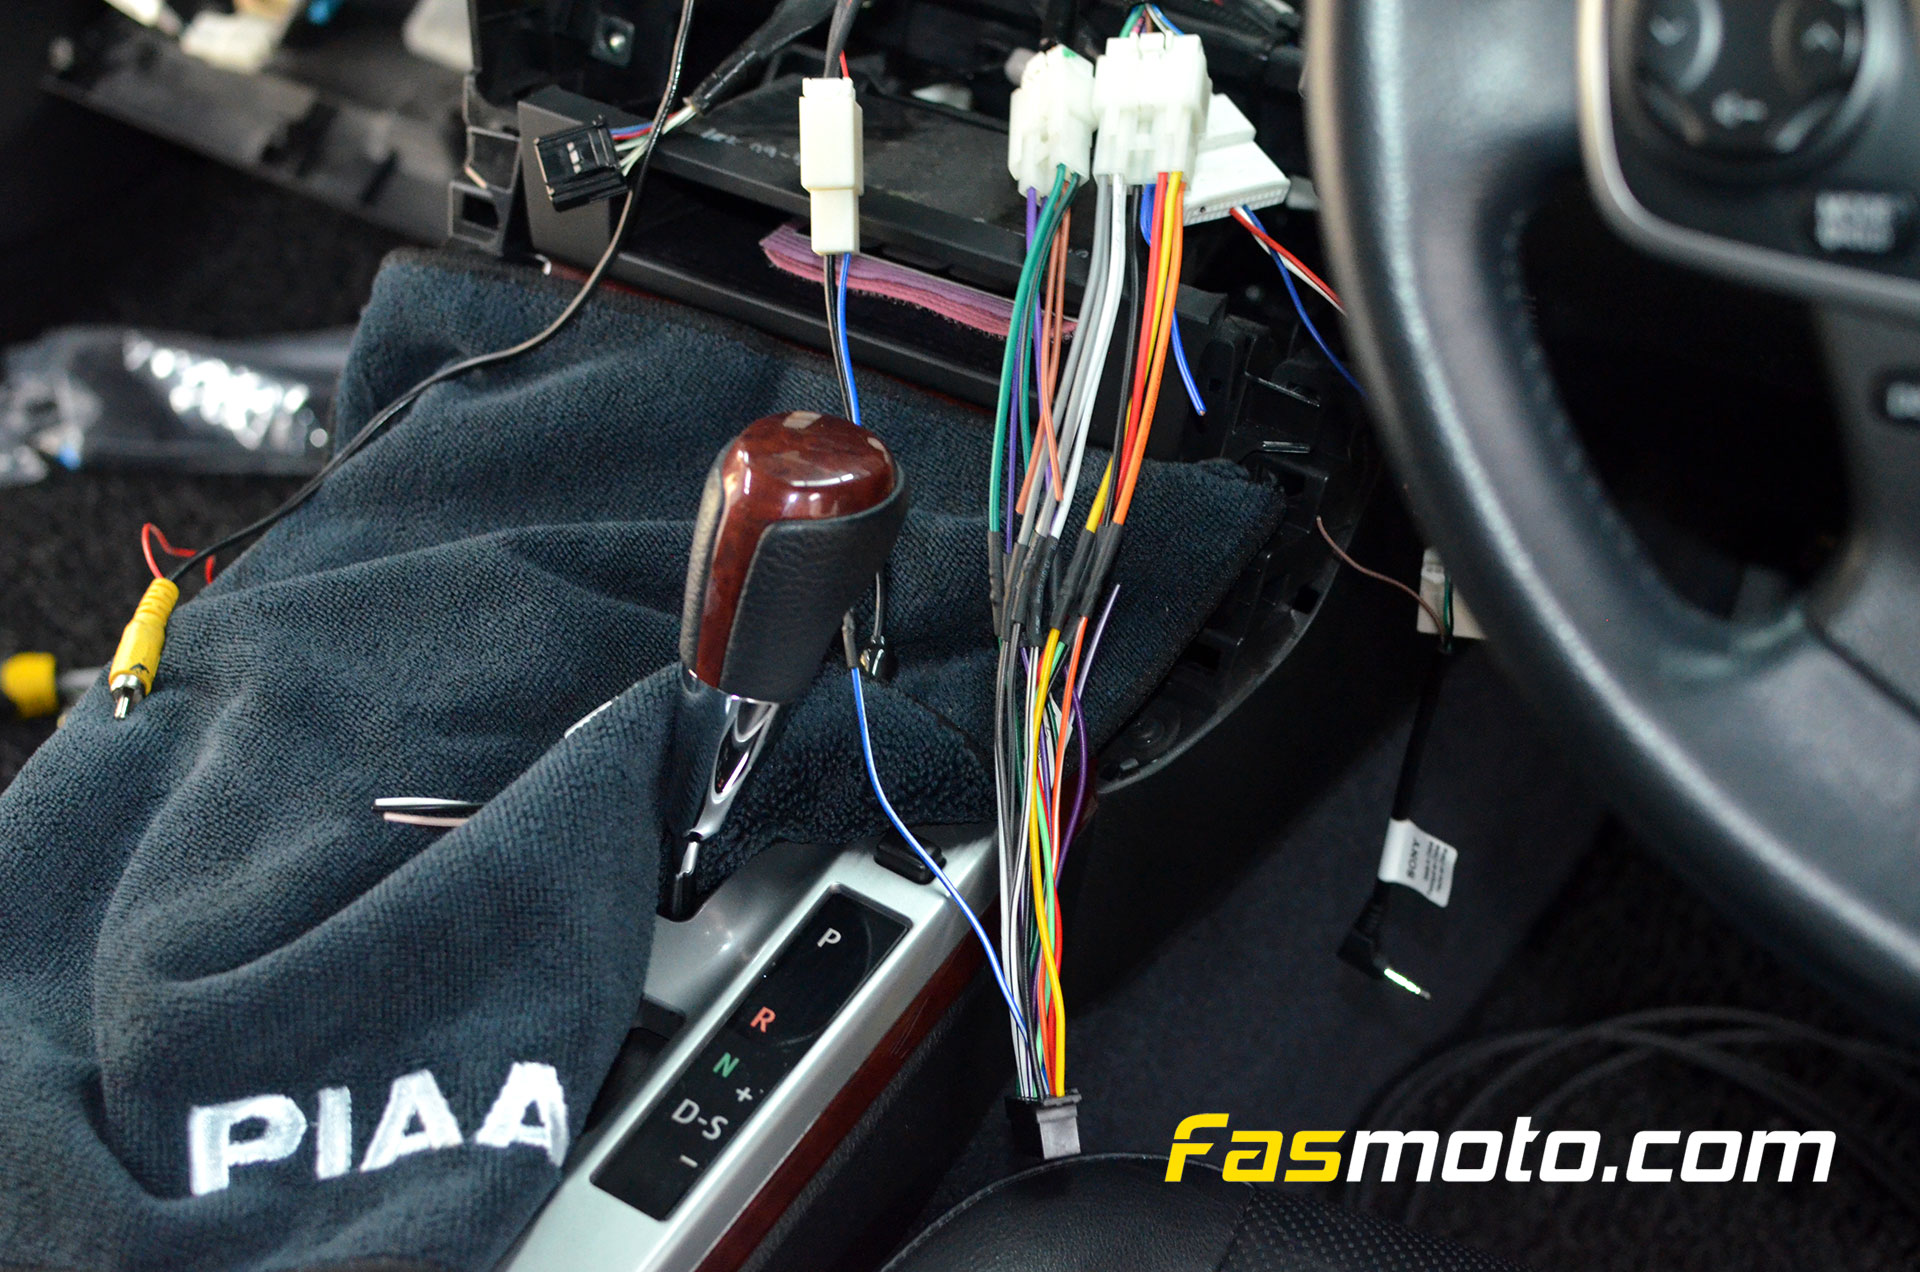
Harnesses are wired up and ready to be connected to the new Sony head unit.
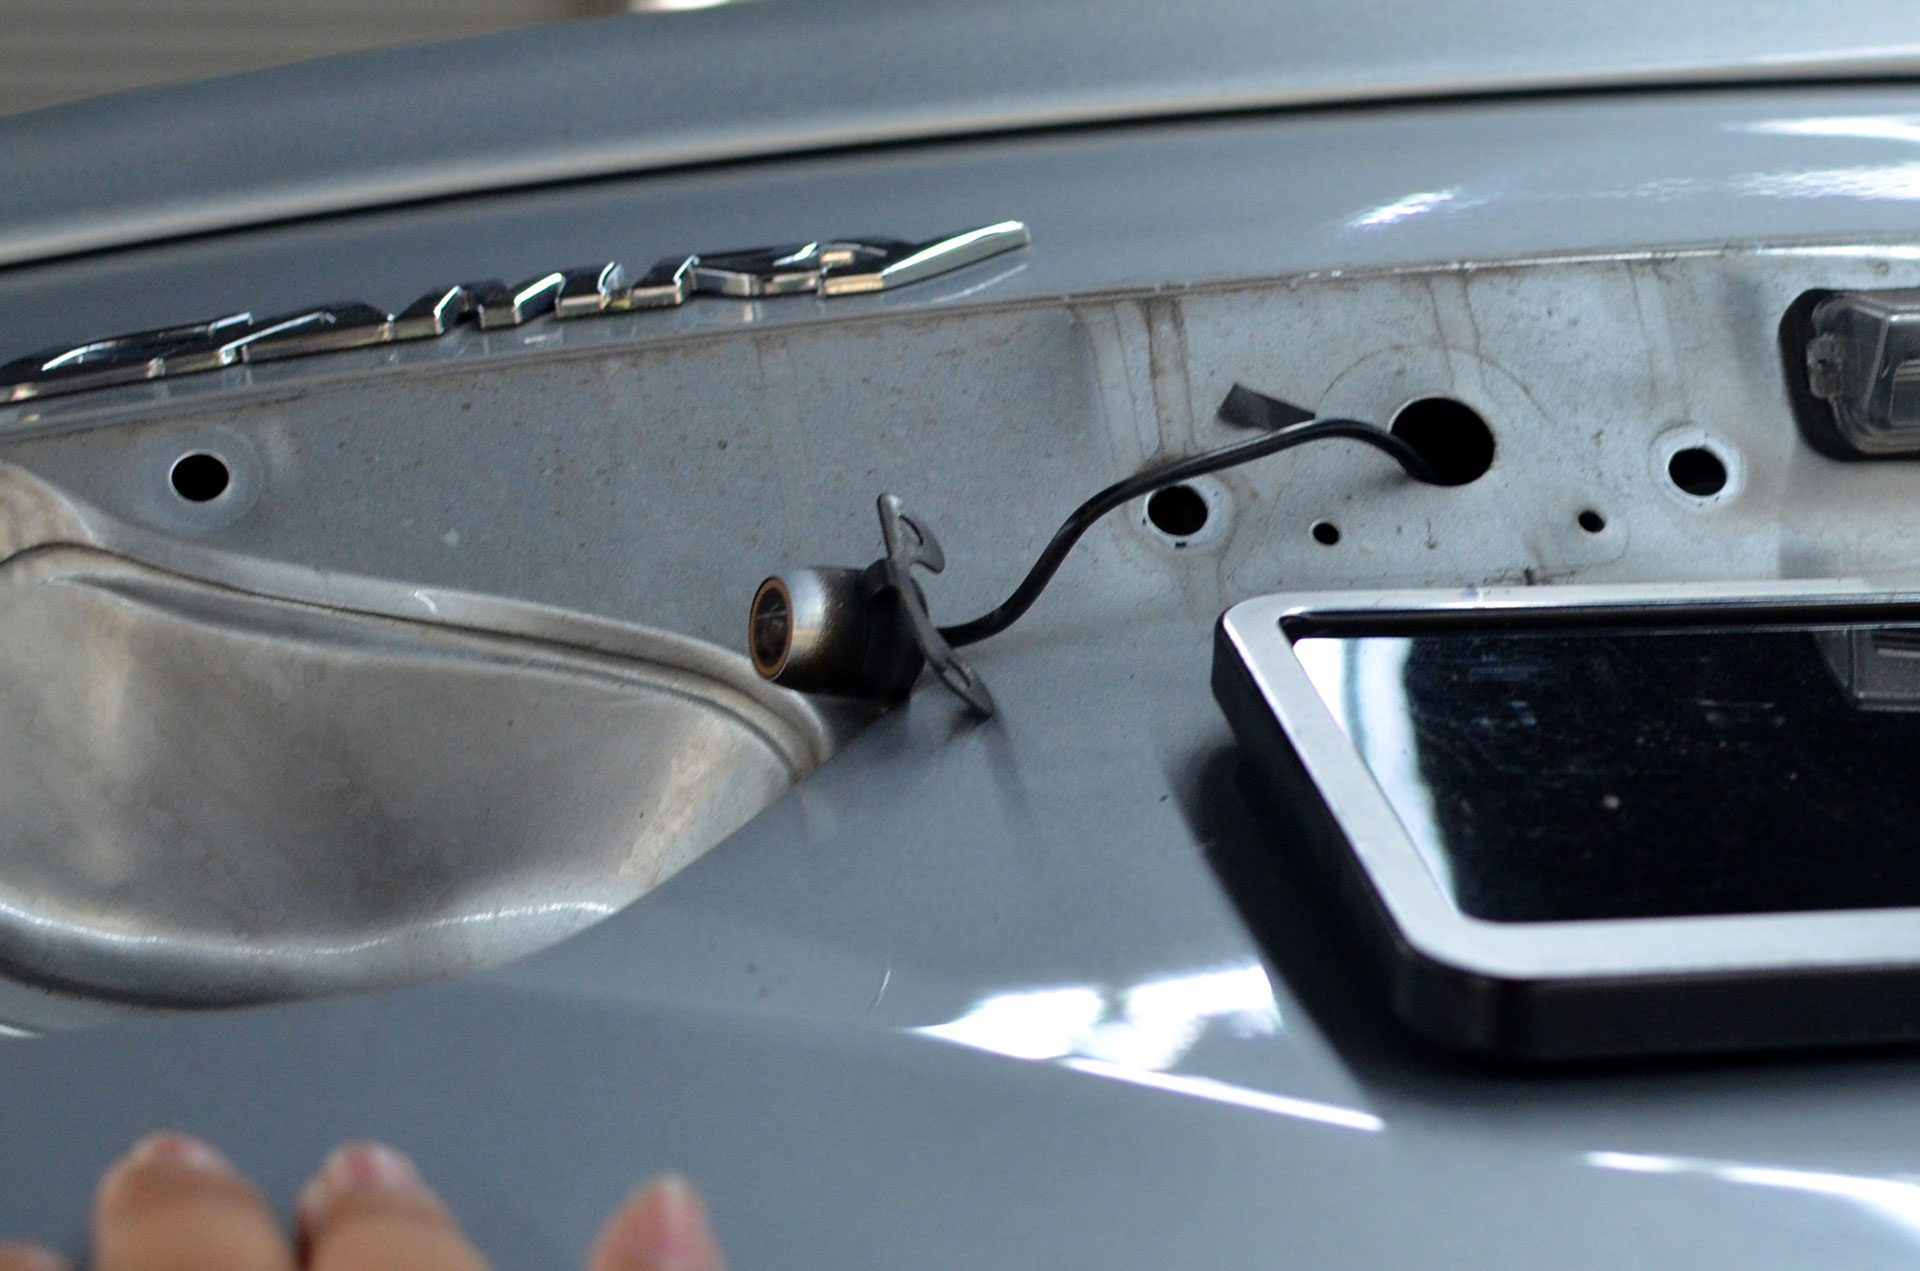
Facing some trouble removing the camera. We eventually managed after some creative thinking.
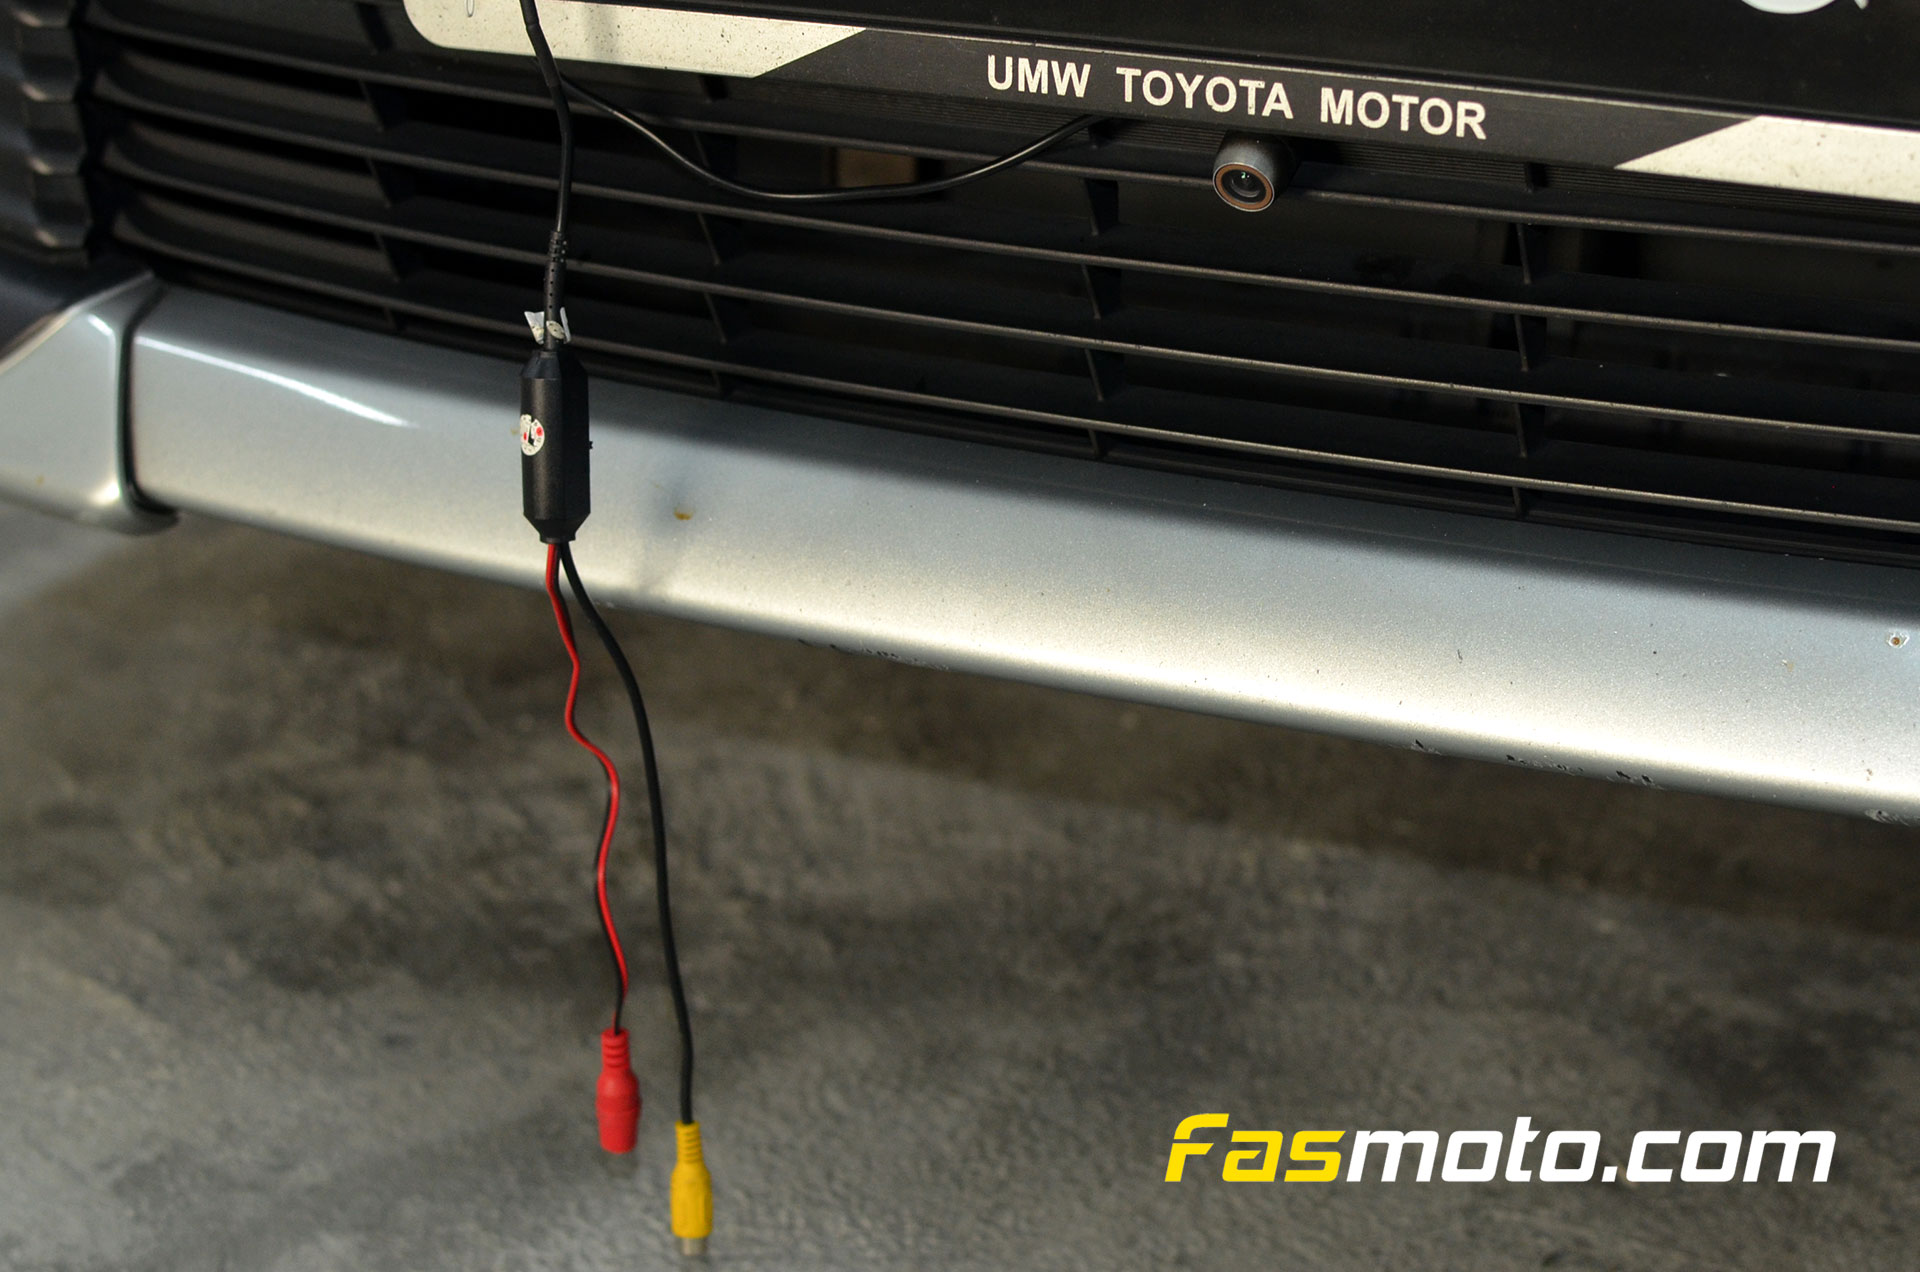
The rear camera successfully installed to the front of the car, just below the number plates.
Next up, getting the 2 Way Camera Controller Interface box wired up. You can see it in the above image, at the bottom left with those colorful wires coming out of it.
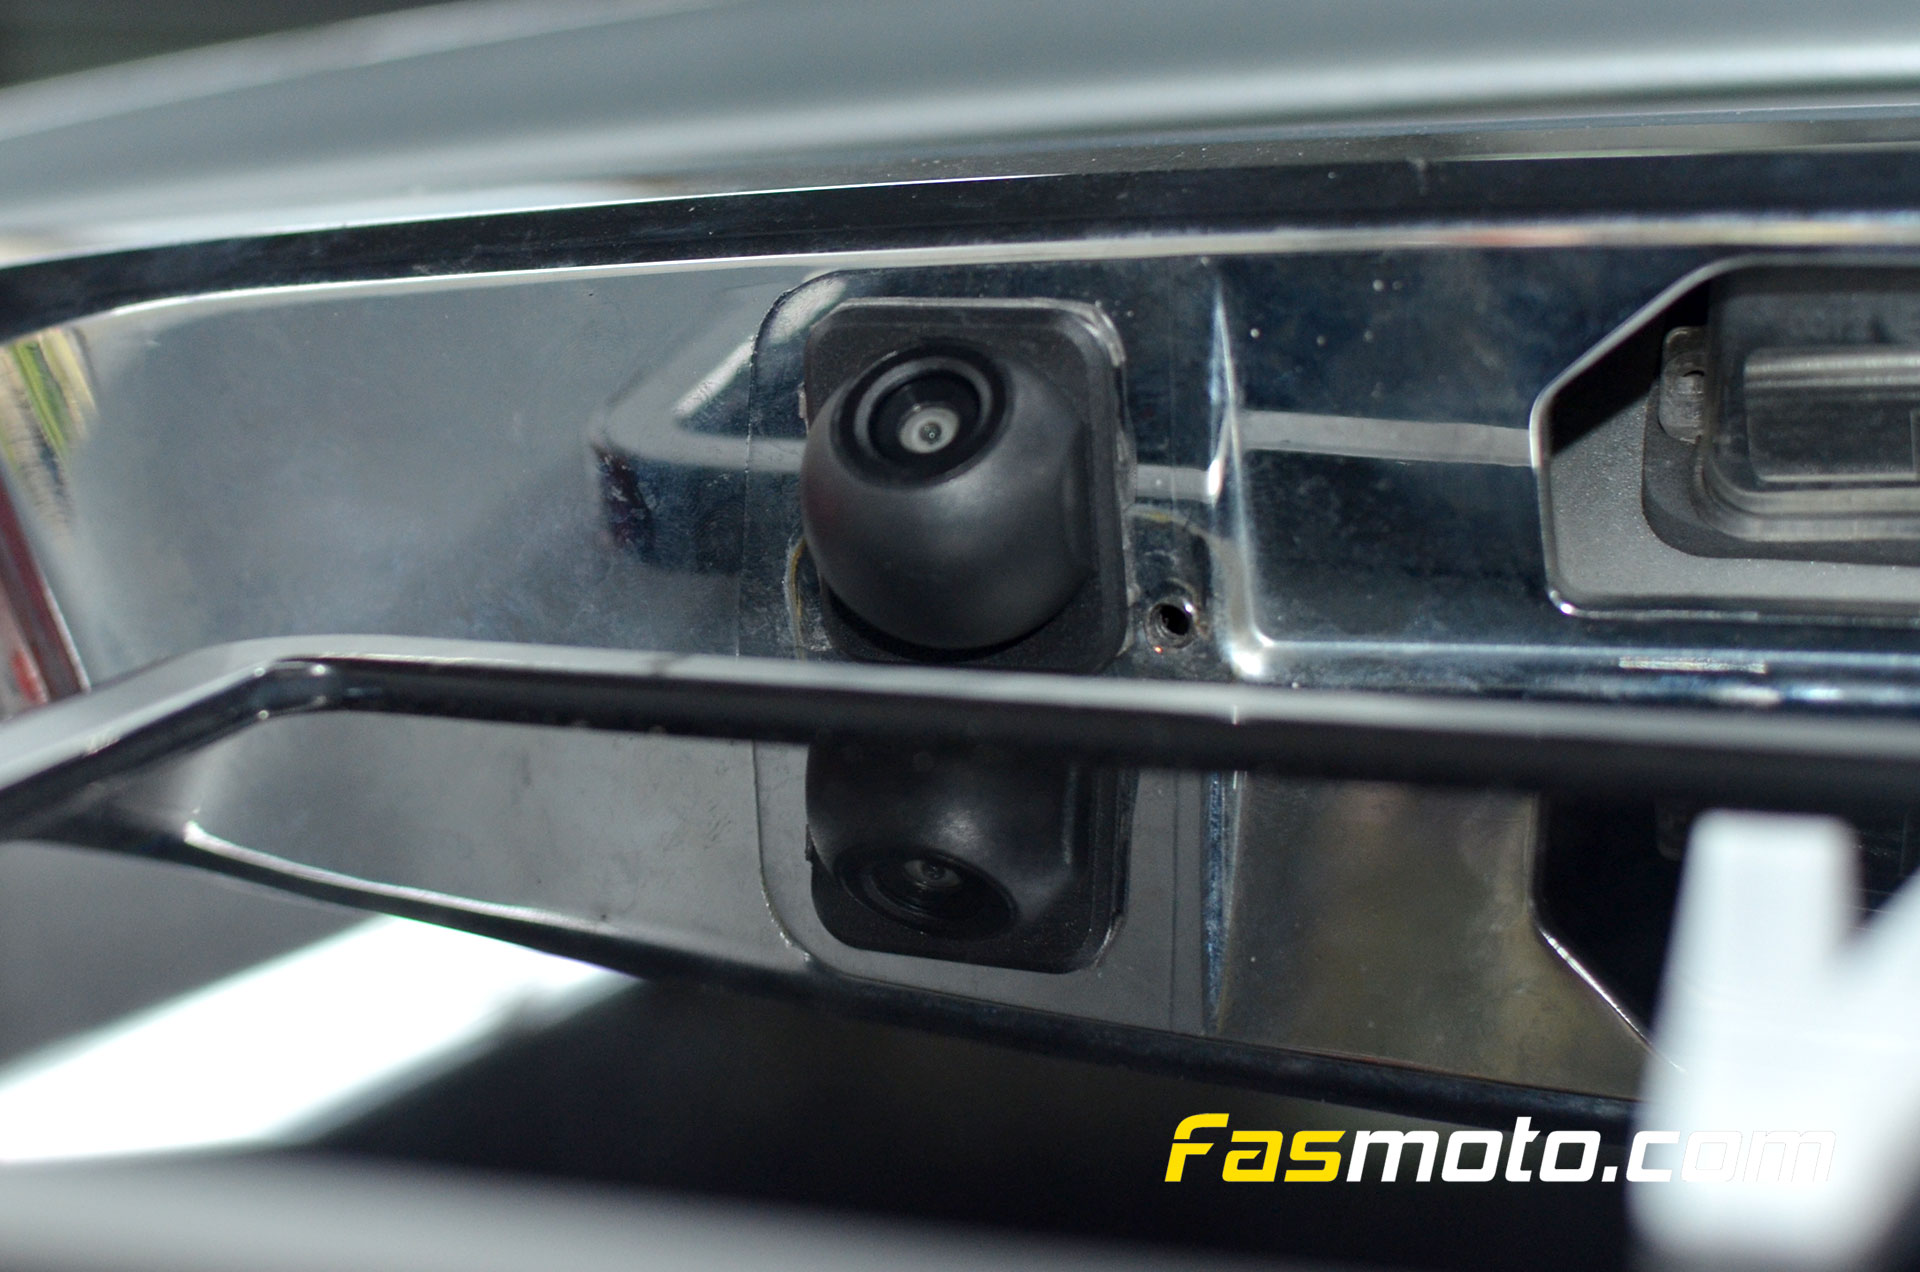
The new rear camera installed. This camera requires that we drill into the panel. The benefit of this camera is that it is not movable, and overall looks sleeker.
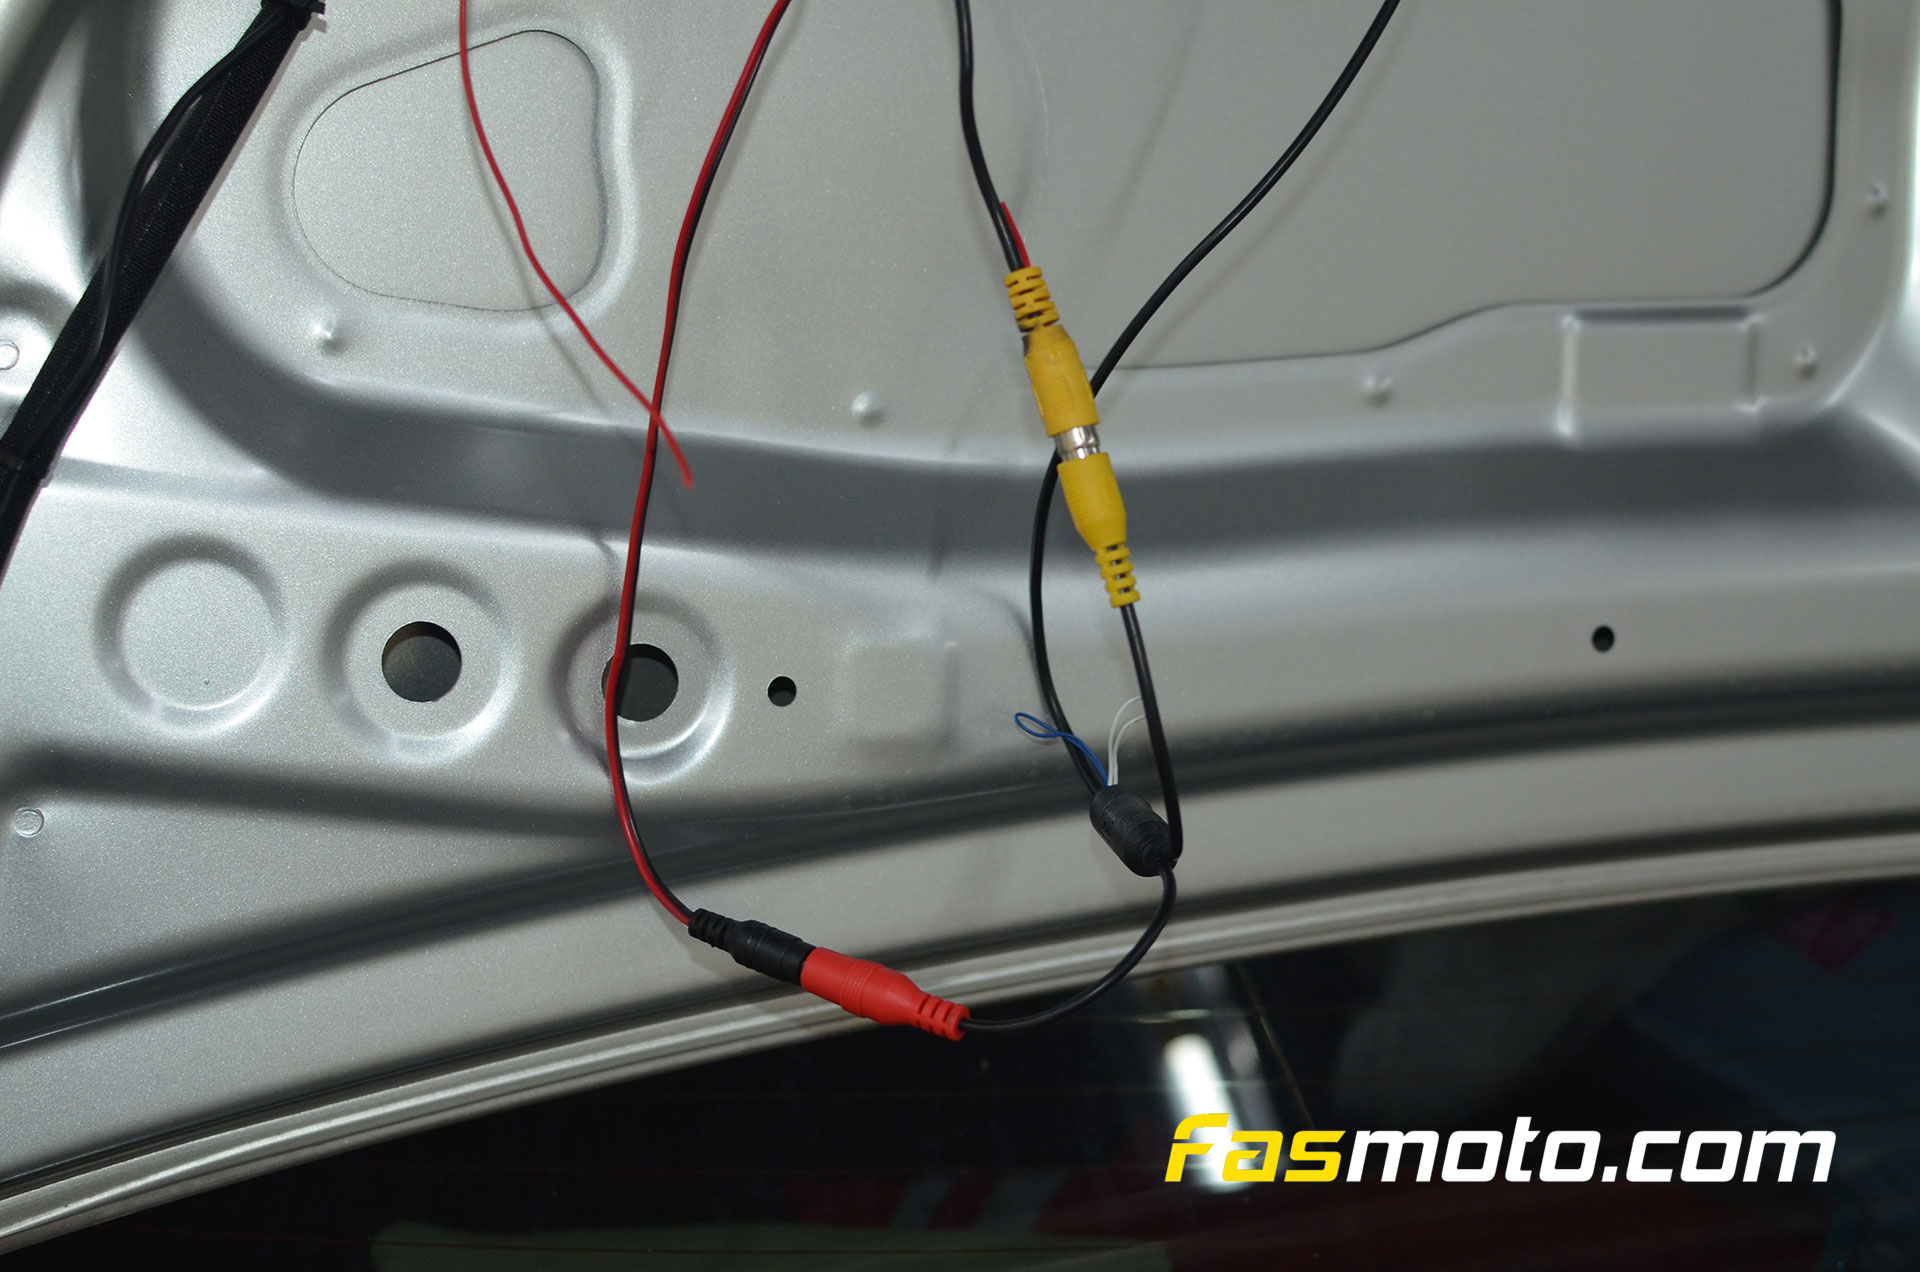
These camera wires will eventually need to be tucked and tied away neatly.
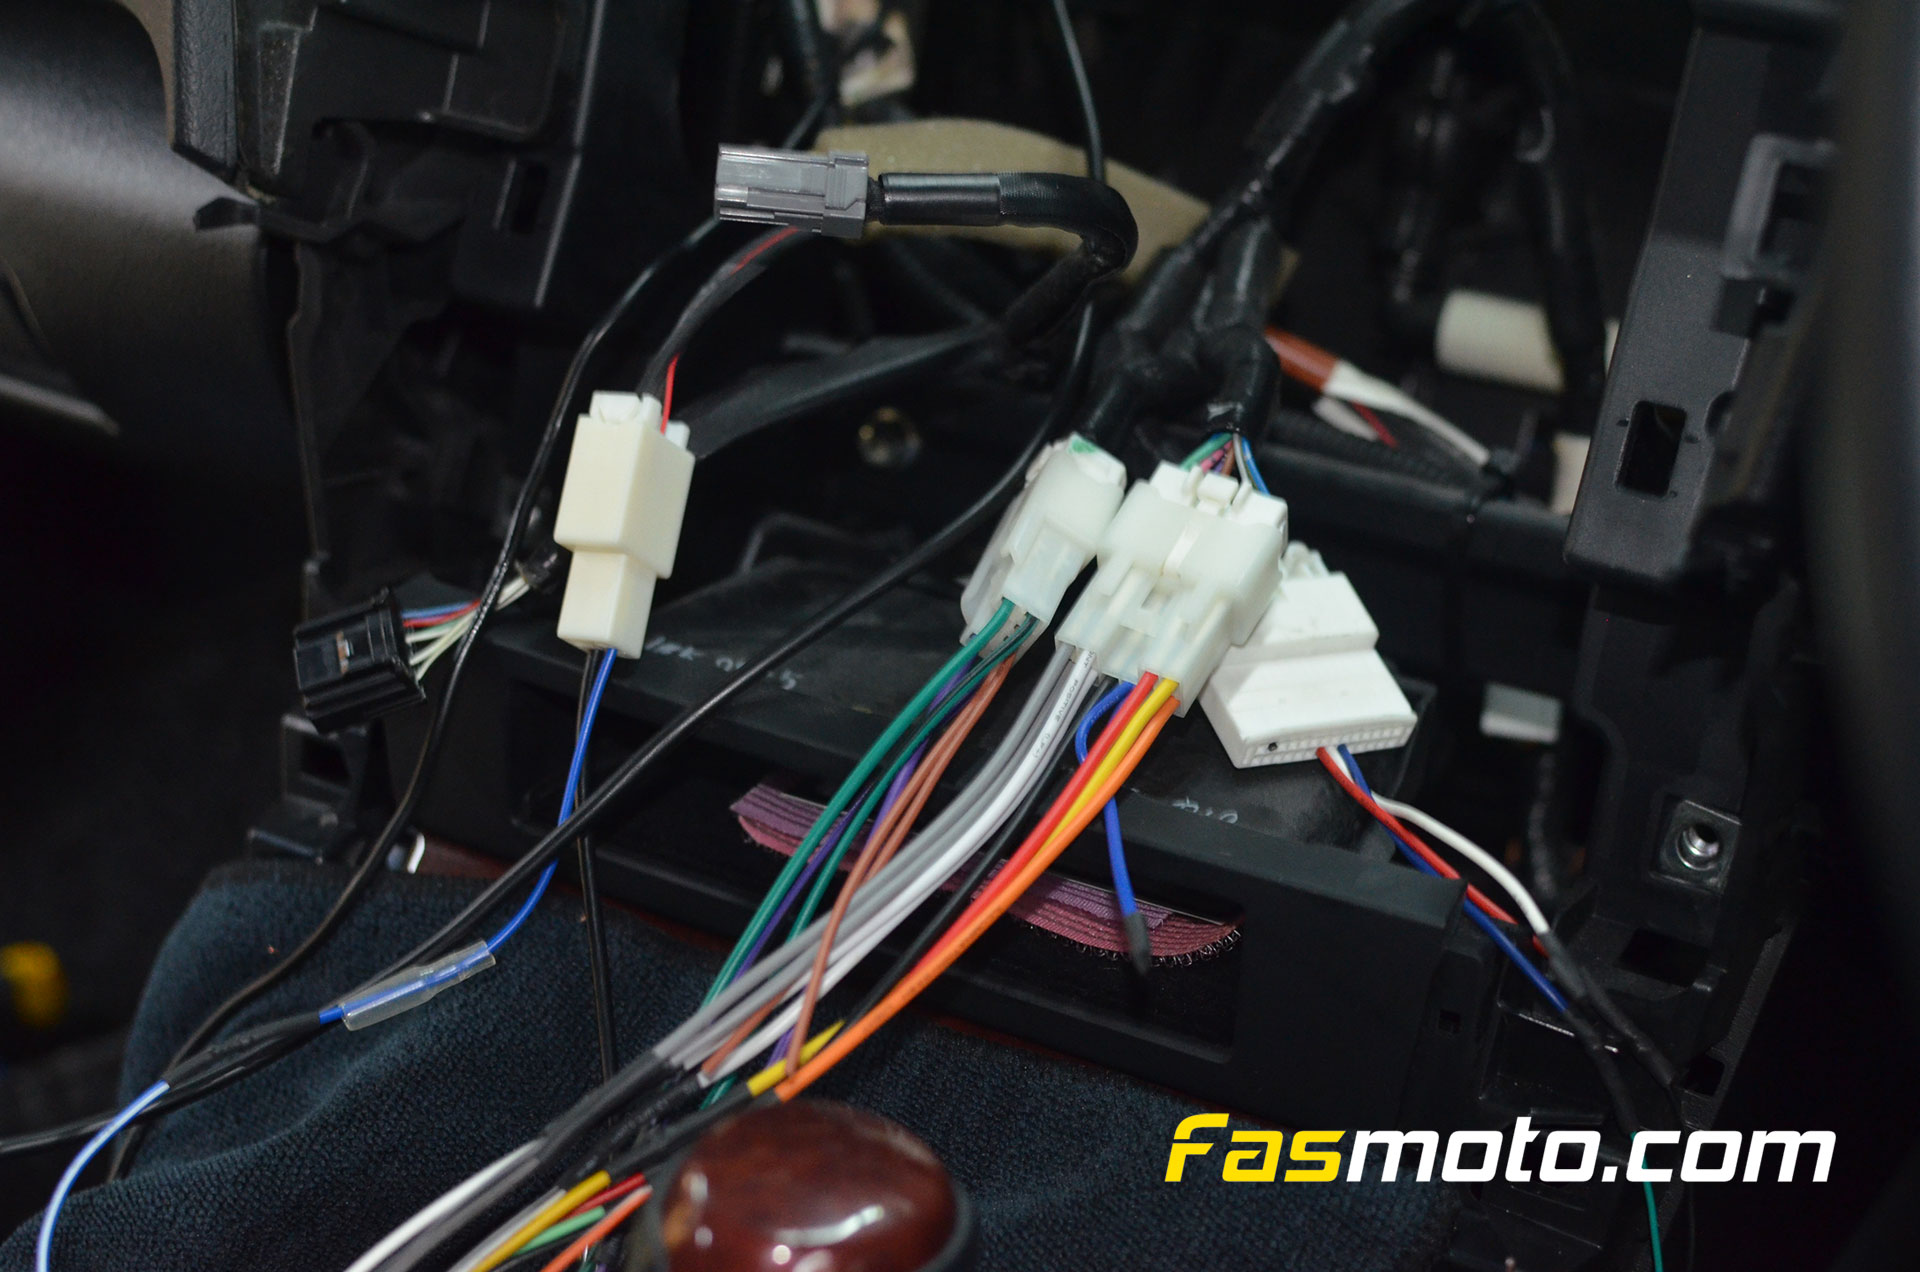
Another look at the harness.

Once we got everything plugged in, we started with testing the cameras. Thankfully it all went well. Image quality was also really good.
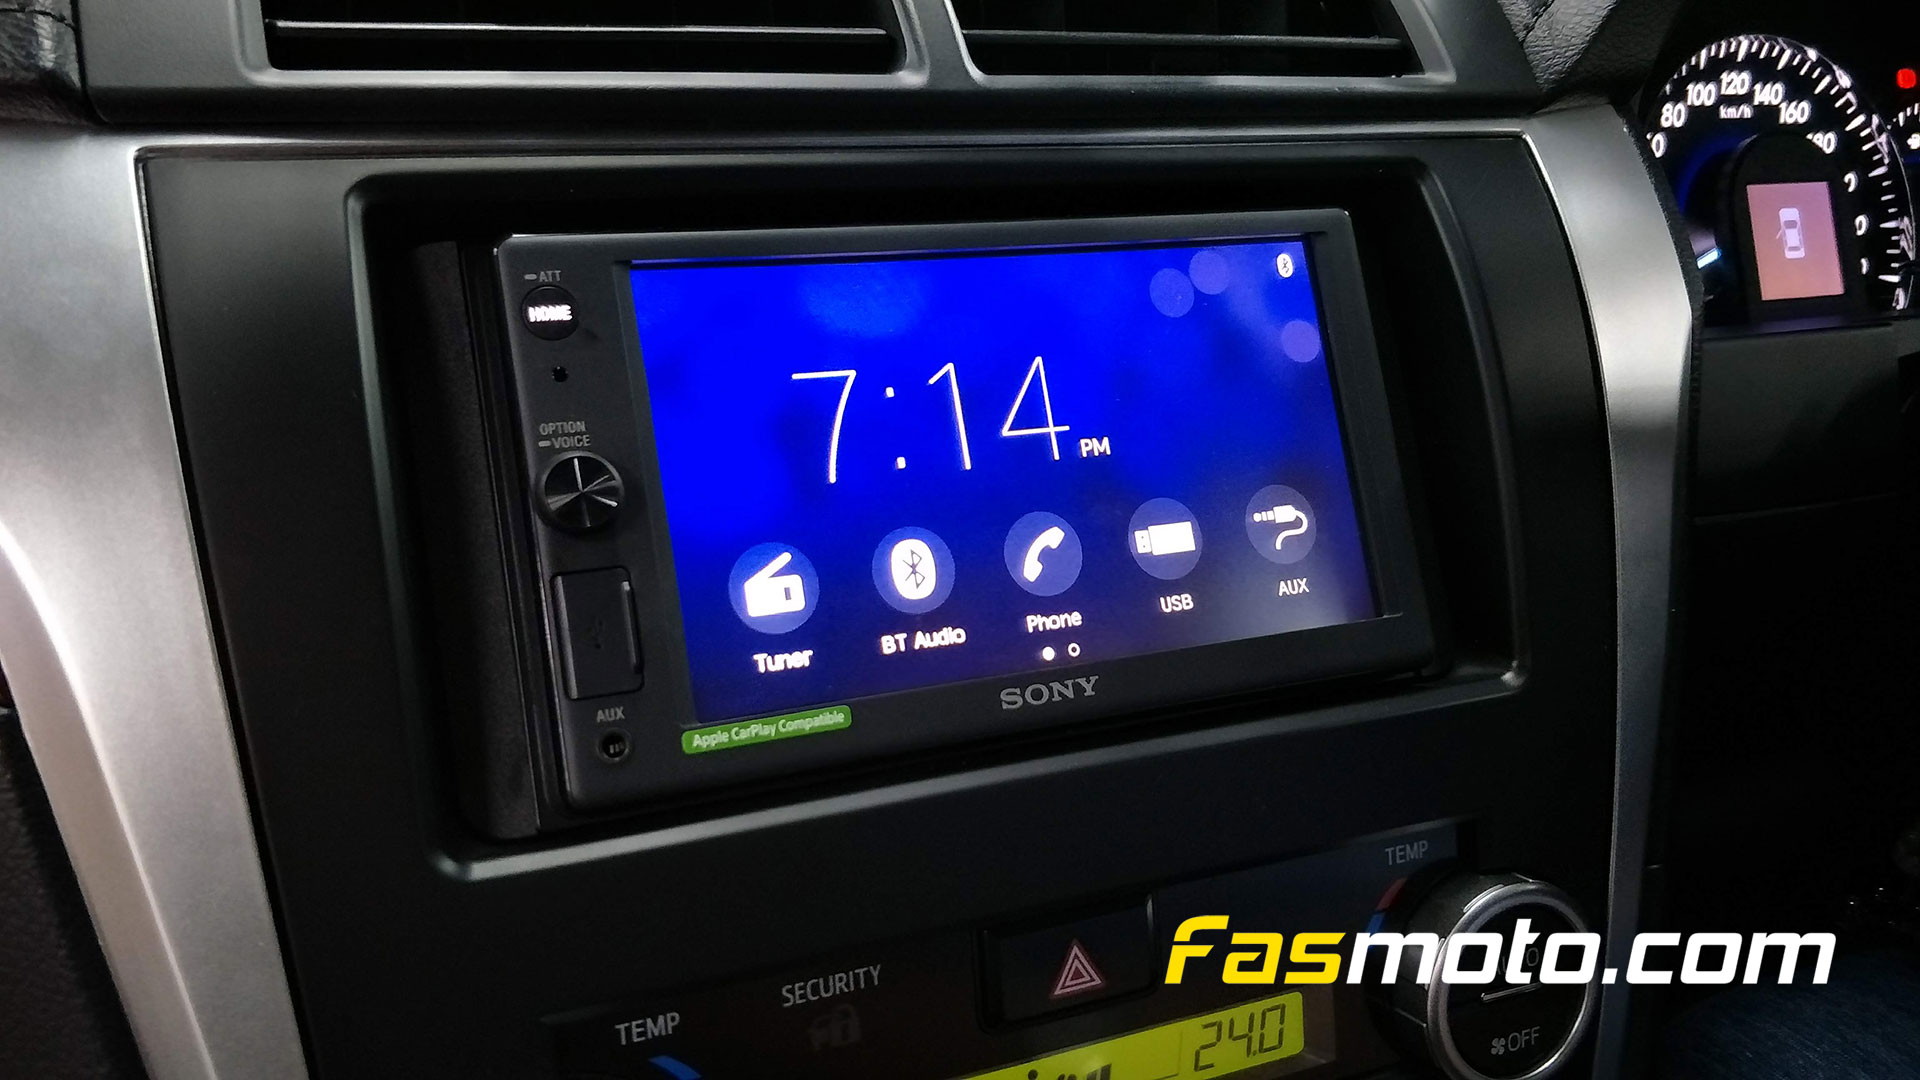
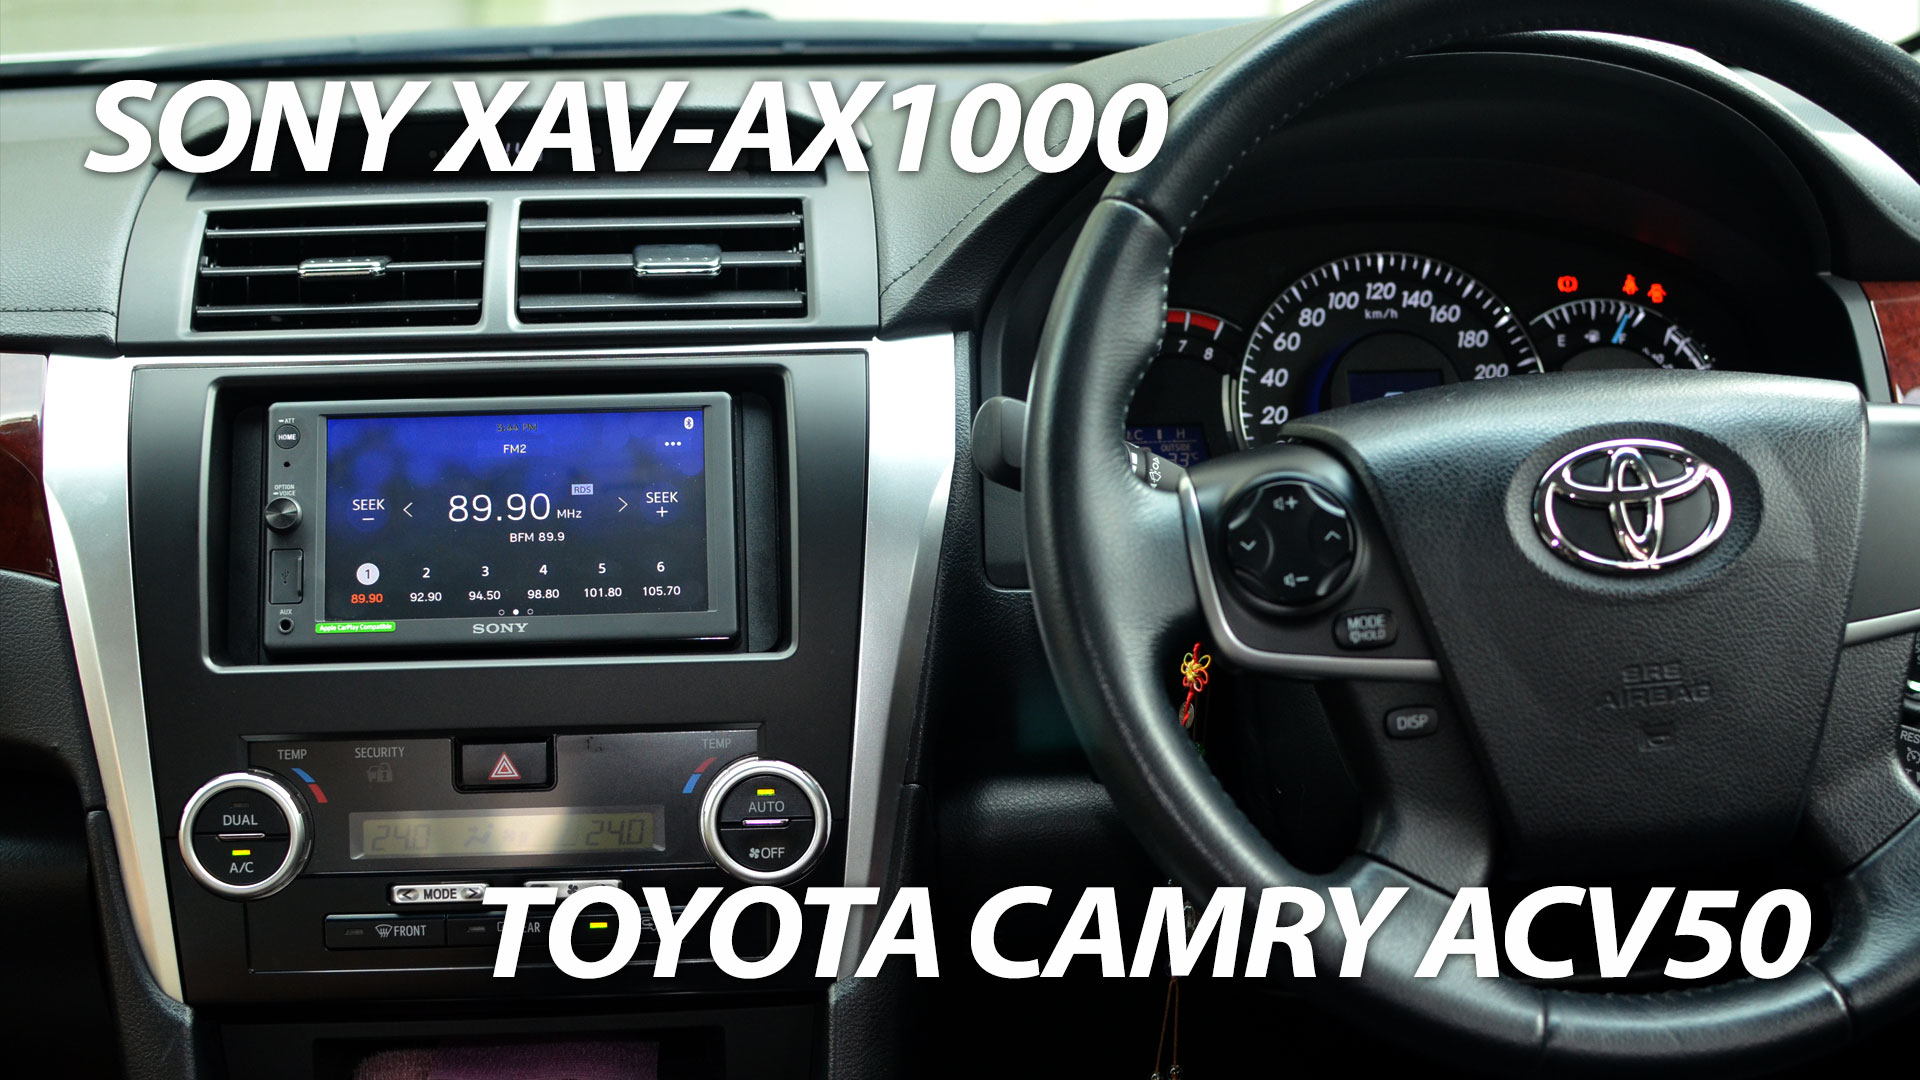
This shot really shows the beauty of the Sony XAV-AX1000. What do you think of the Sony?
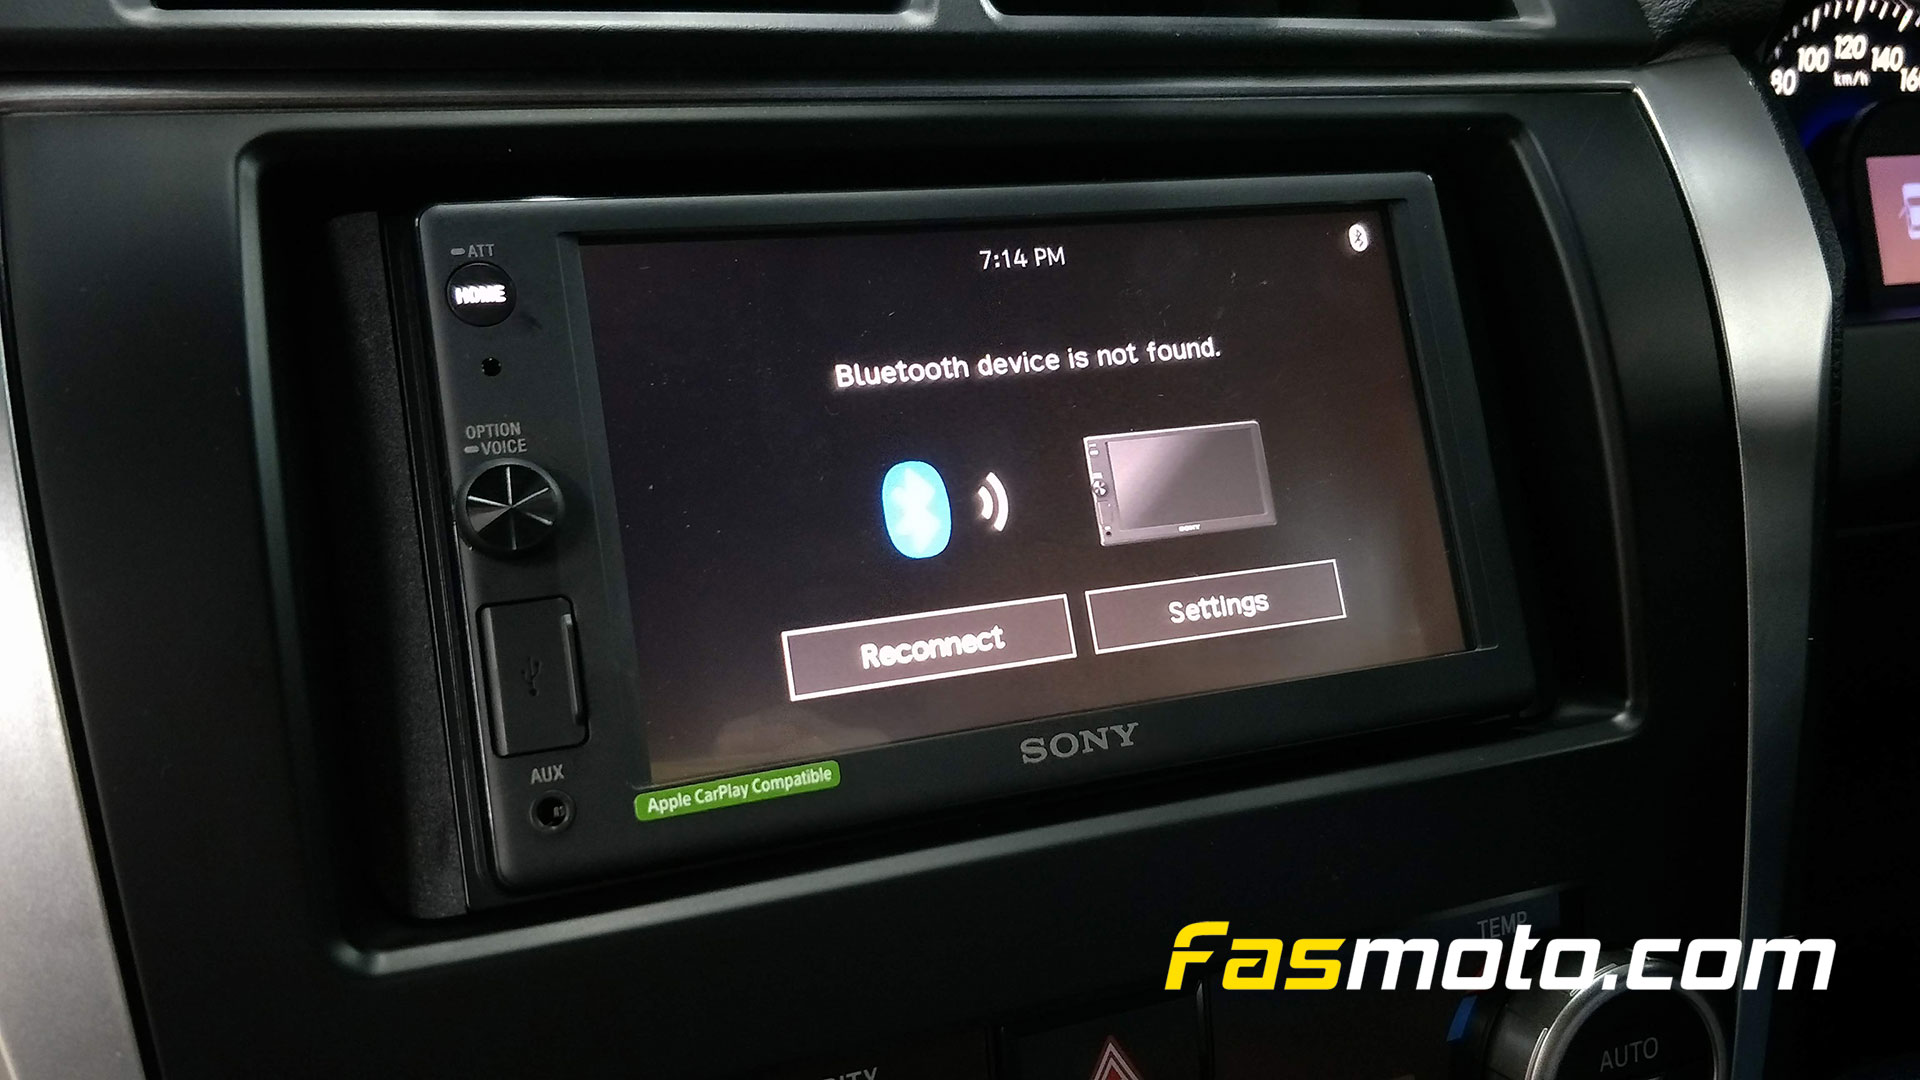
Next up is testing out the Bluetooth connectivity. Music streaming and hands-free calls worked very well.
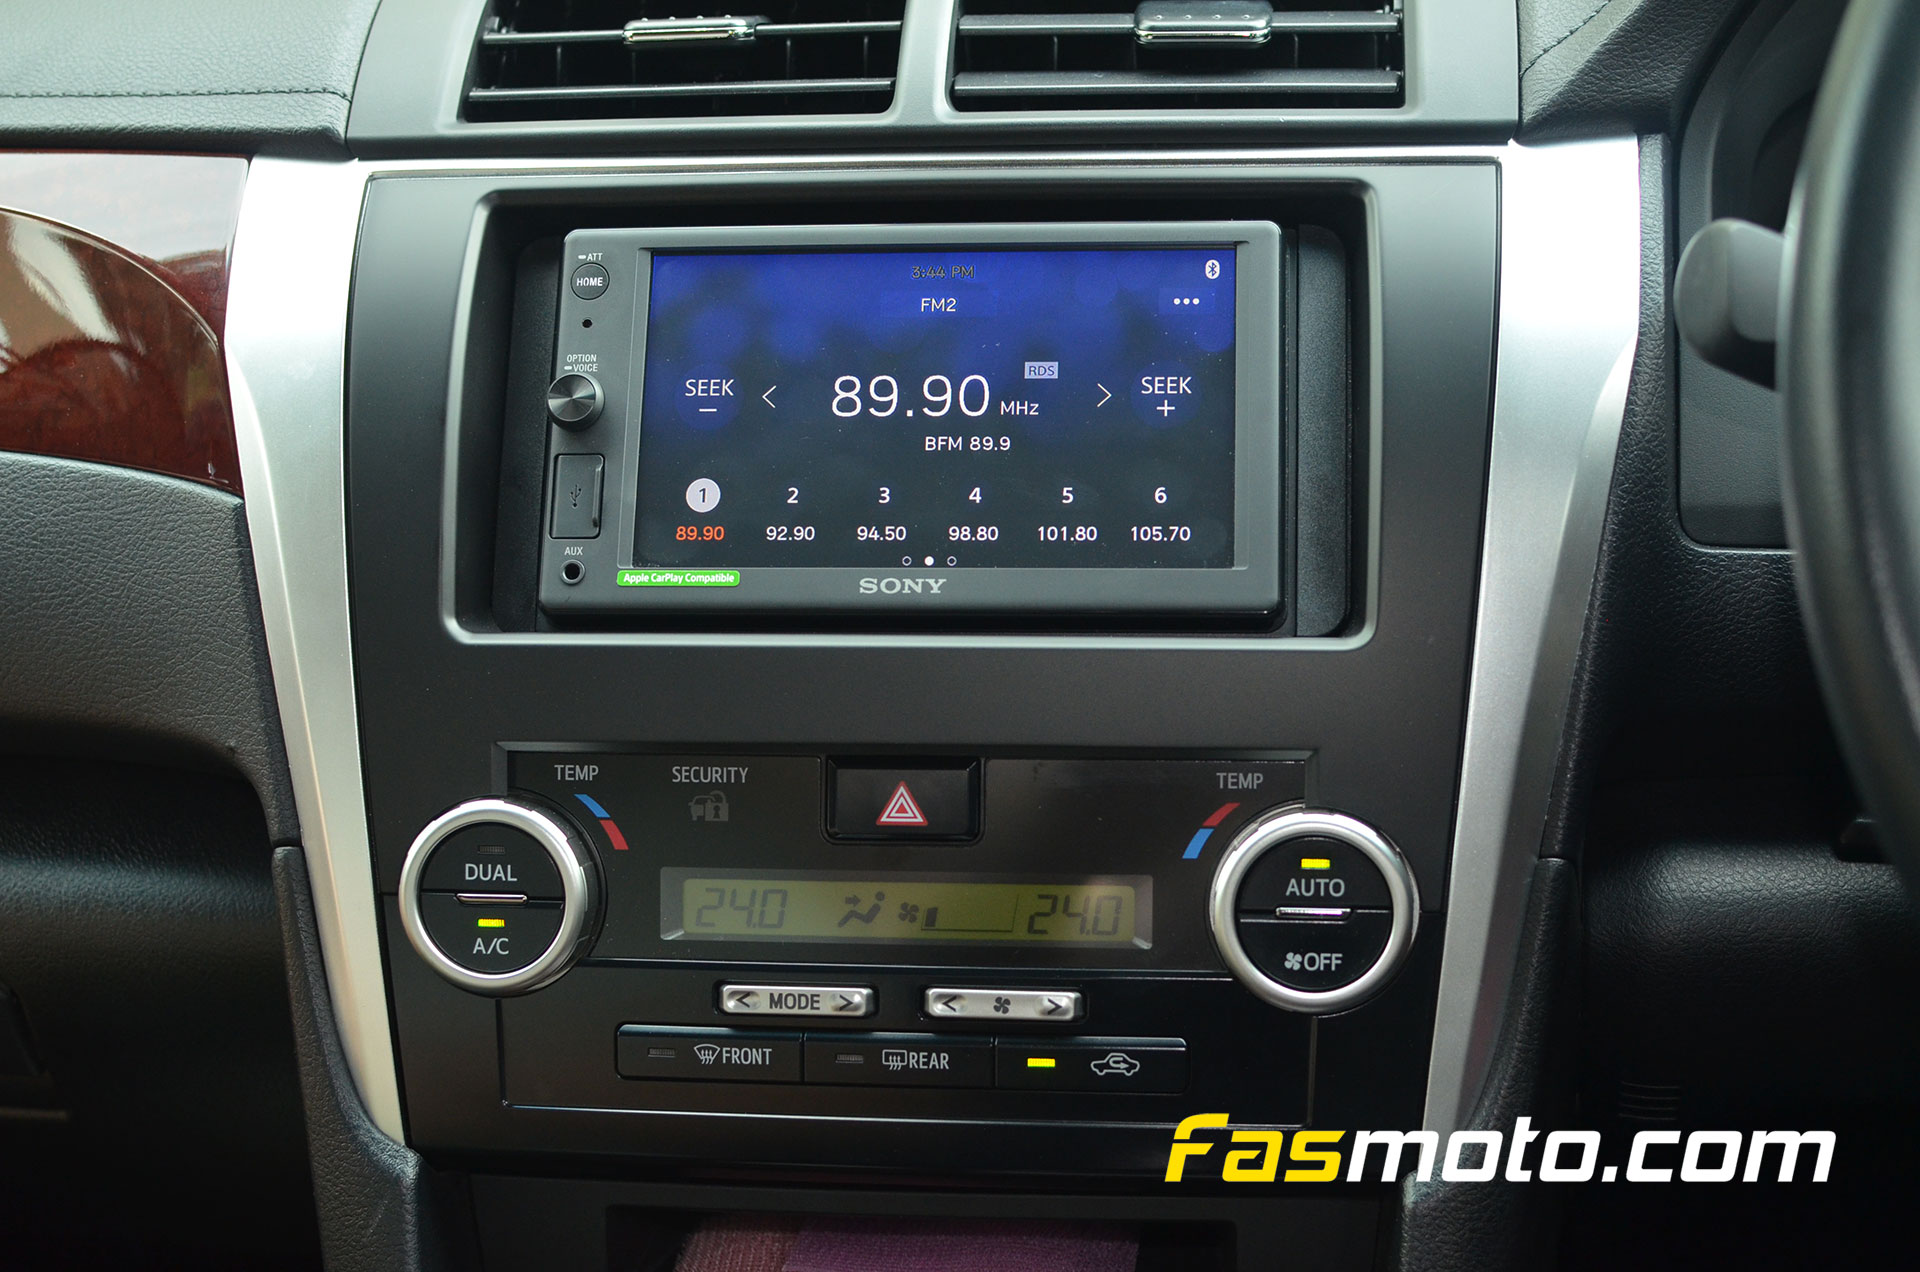
The Sony FM tuner interface. Clean and simple.
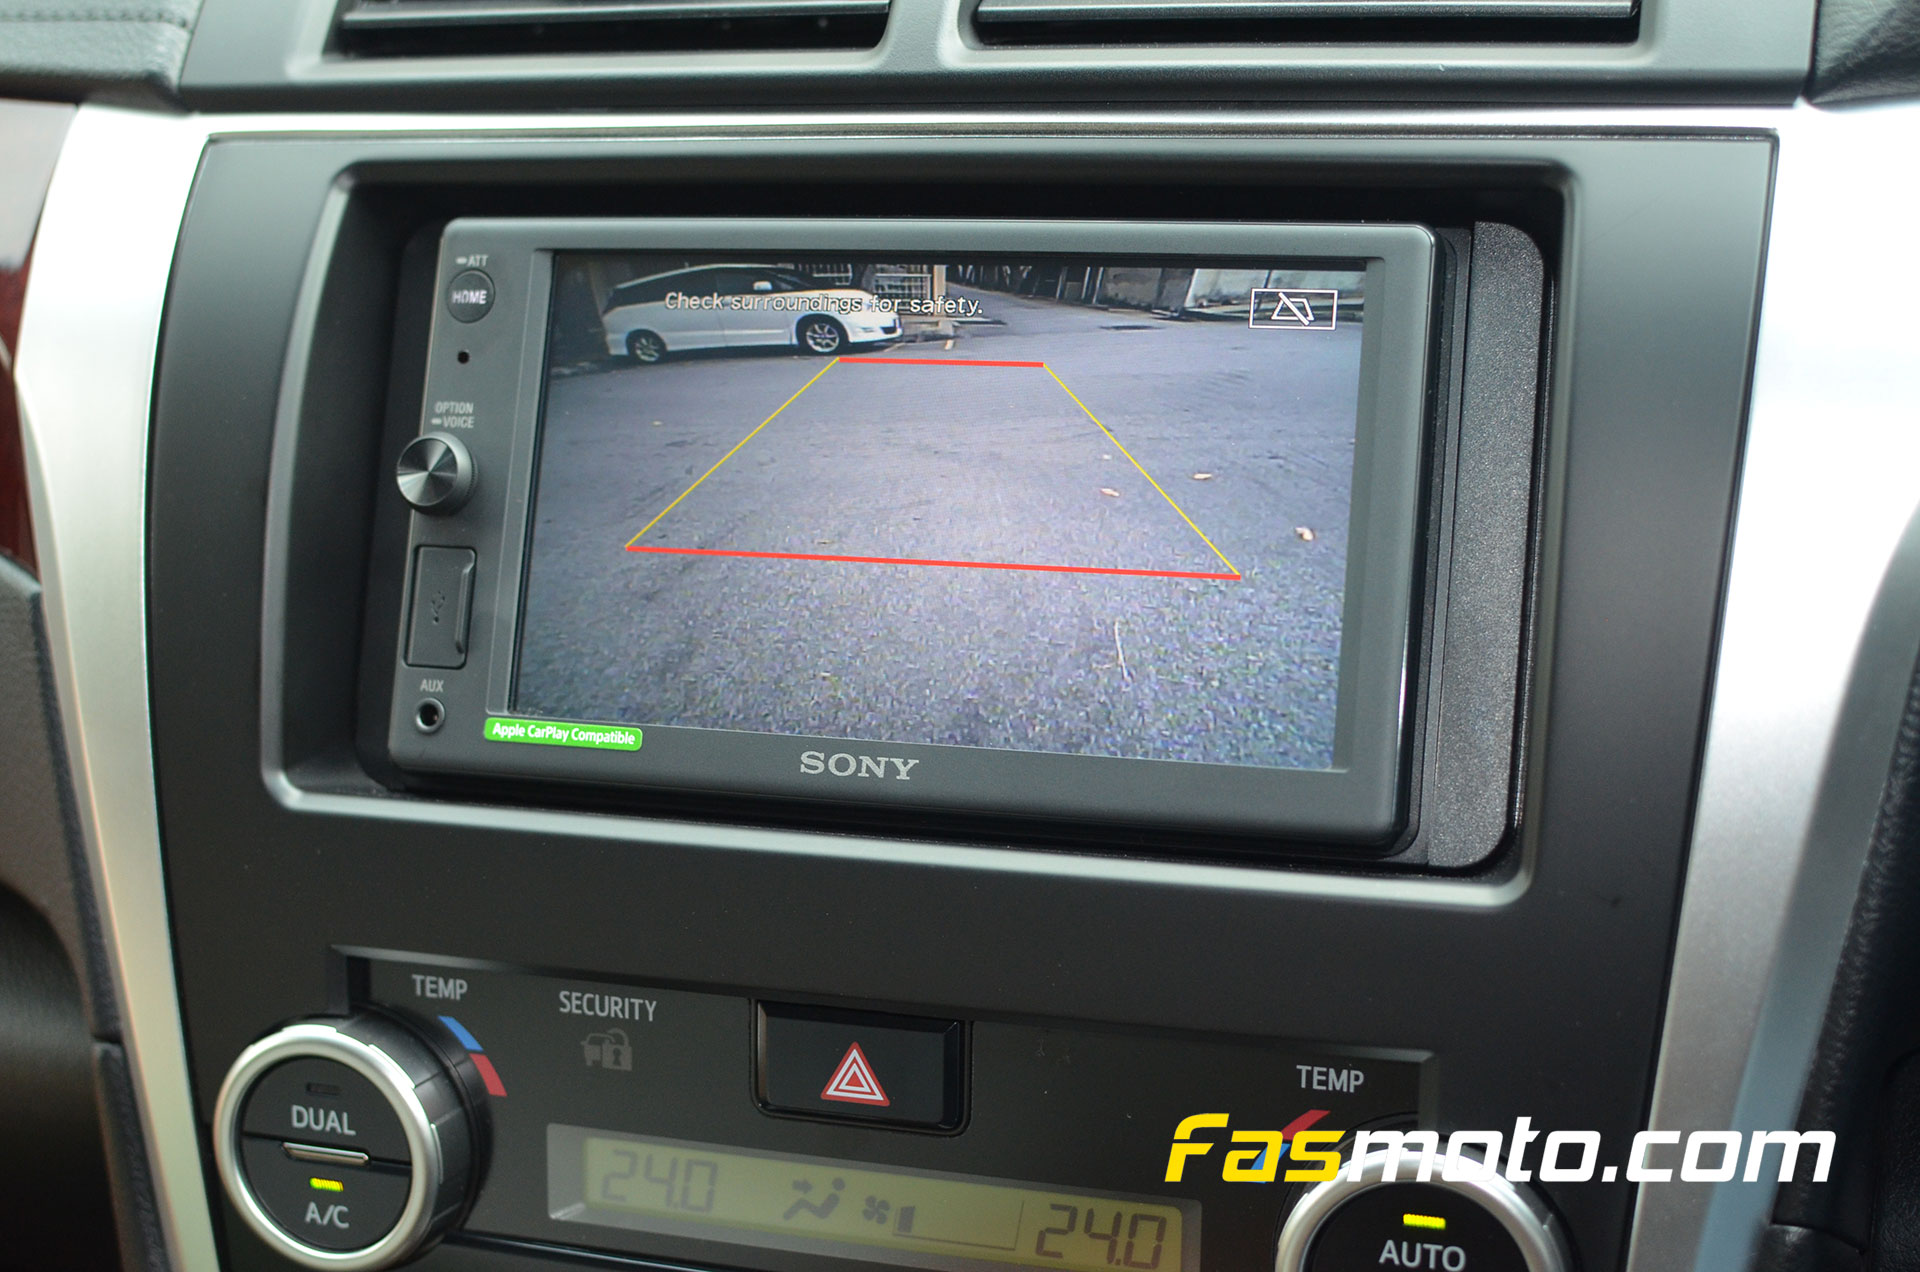
Another test of the rear camera view outdoors in daylight.
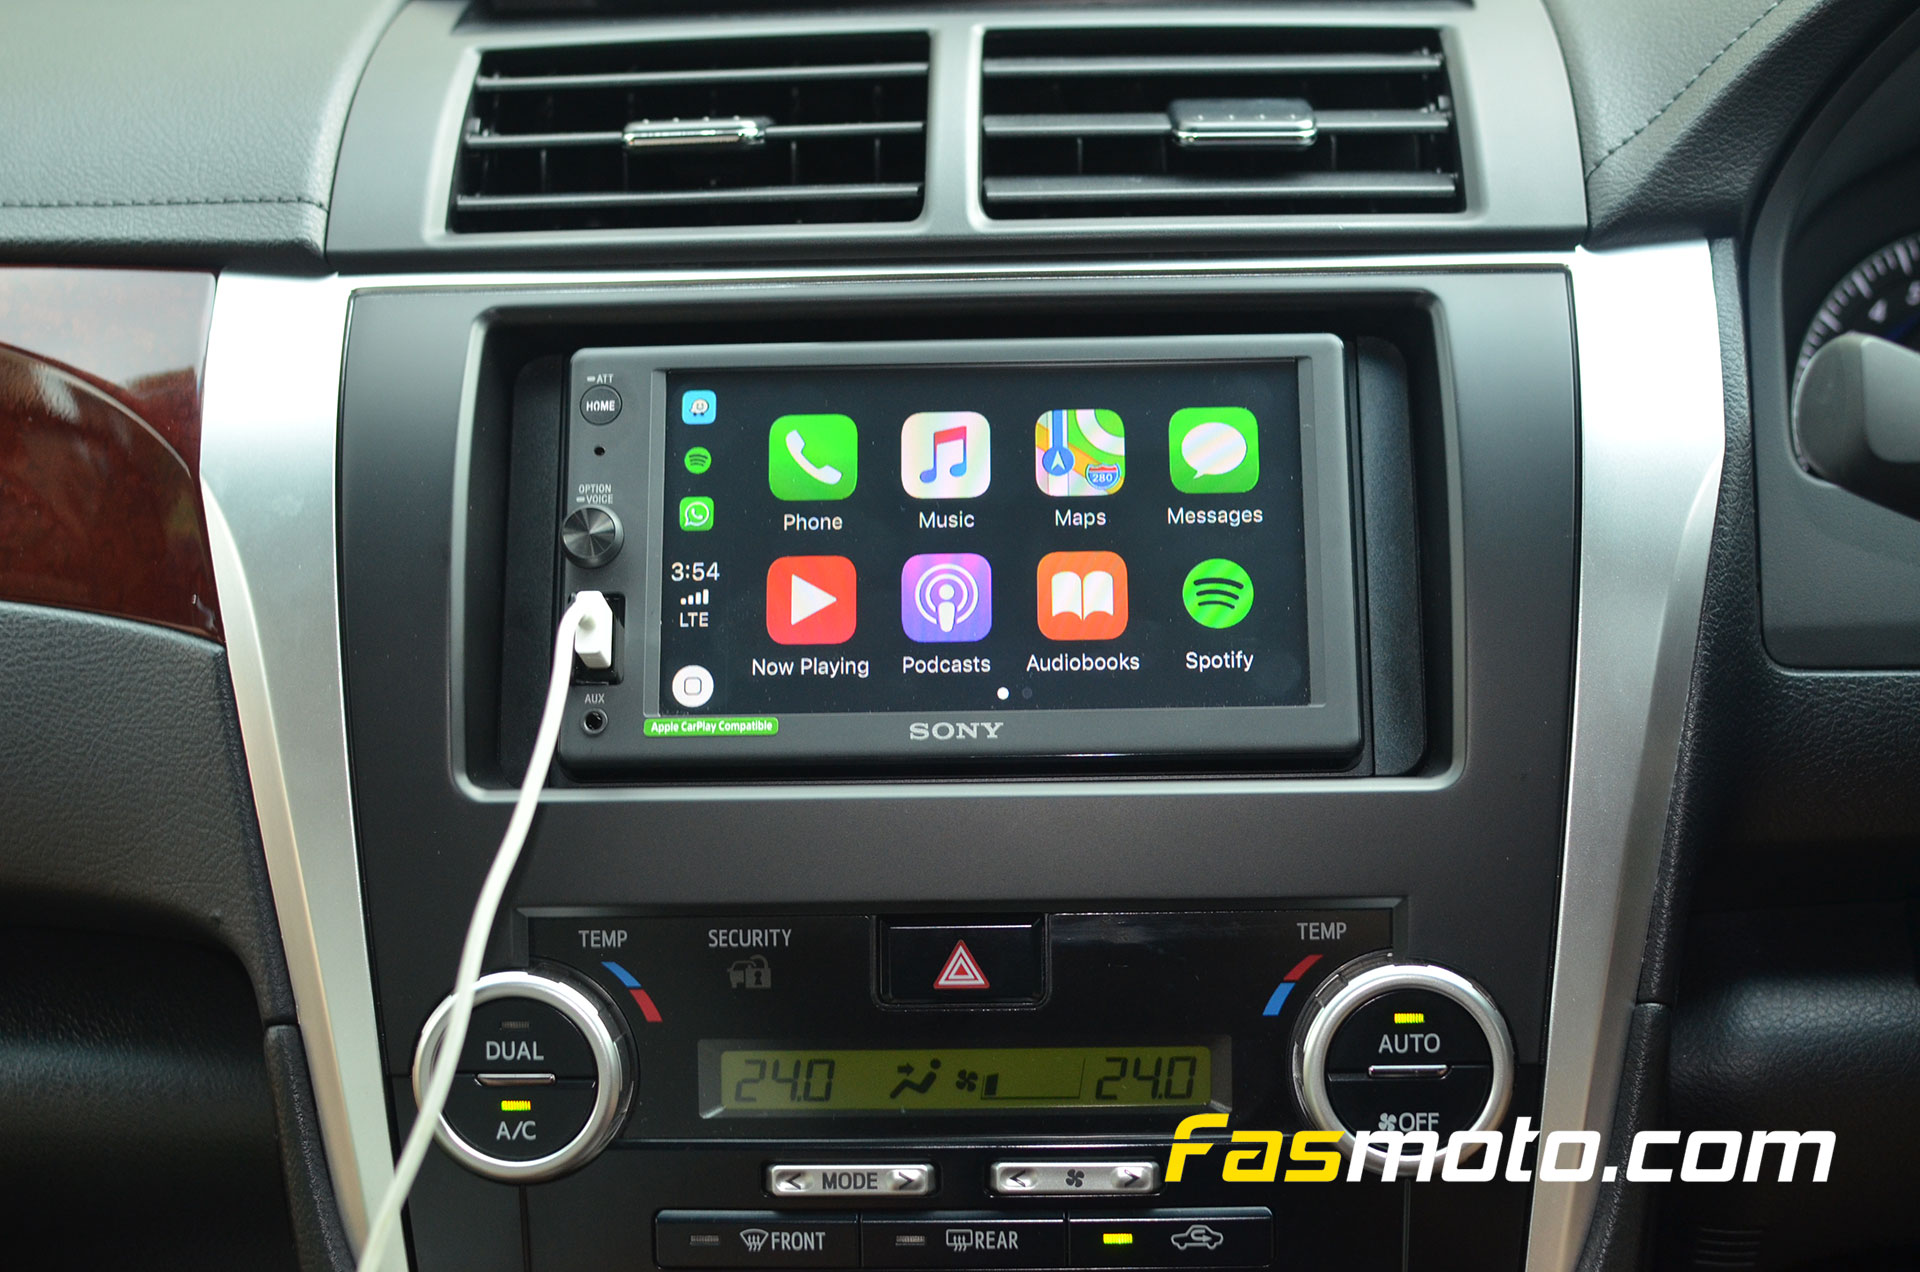
Apple CarPlay also worked well on this unit.
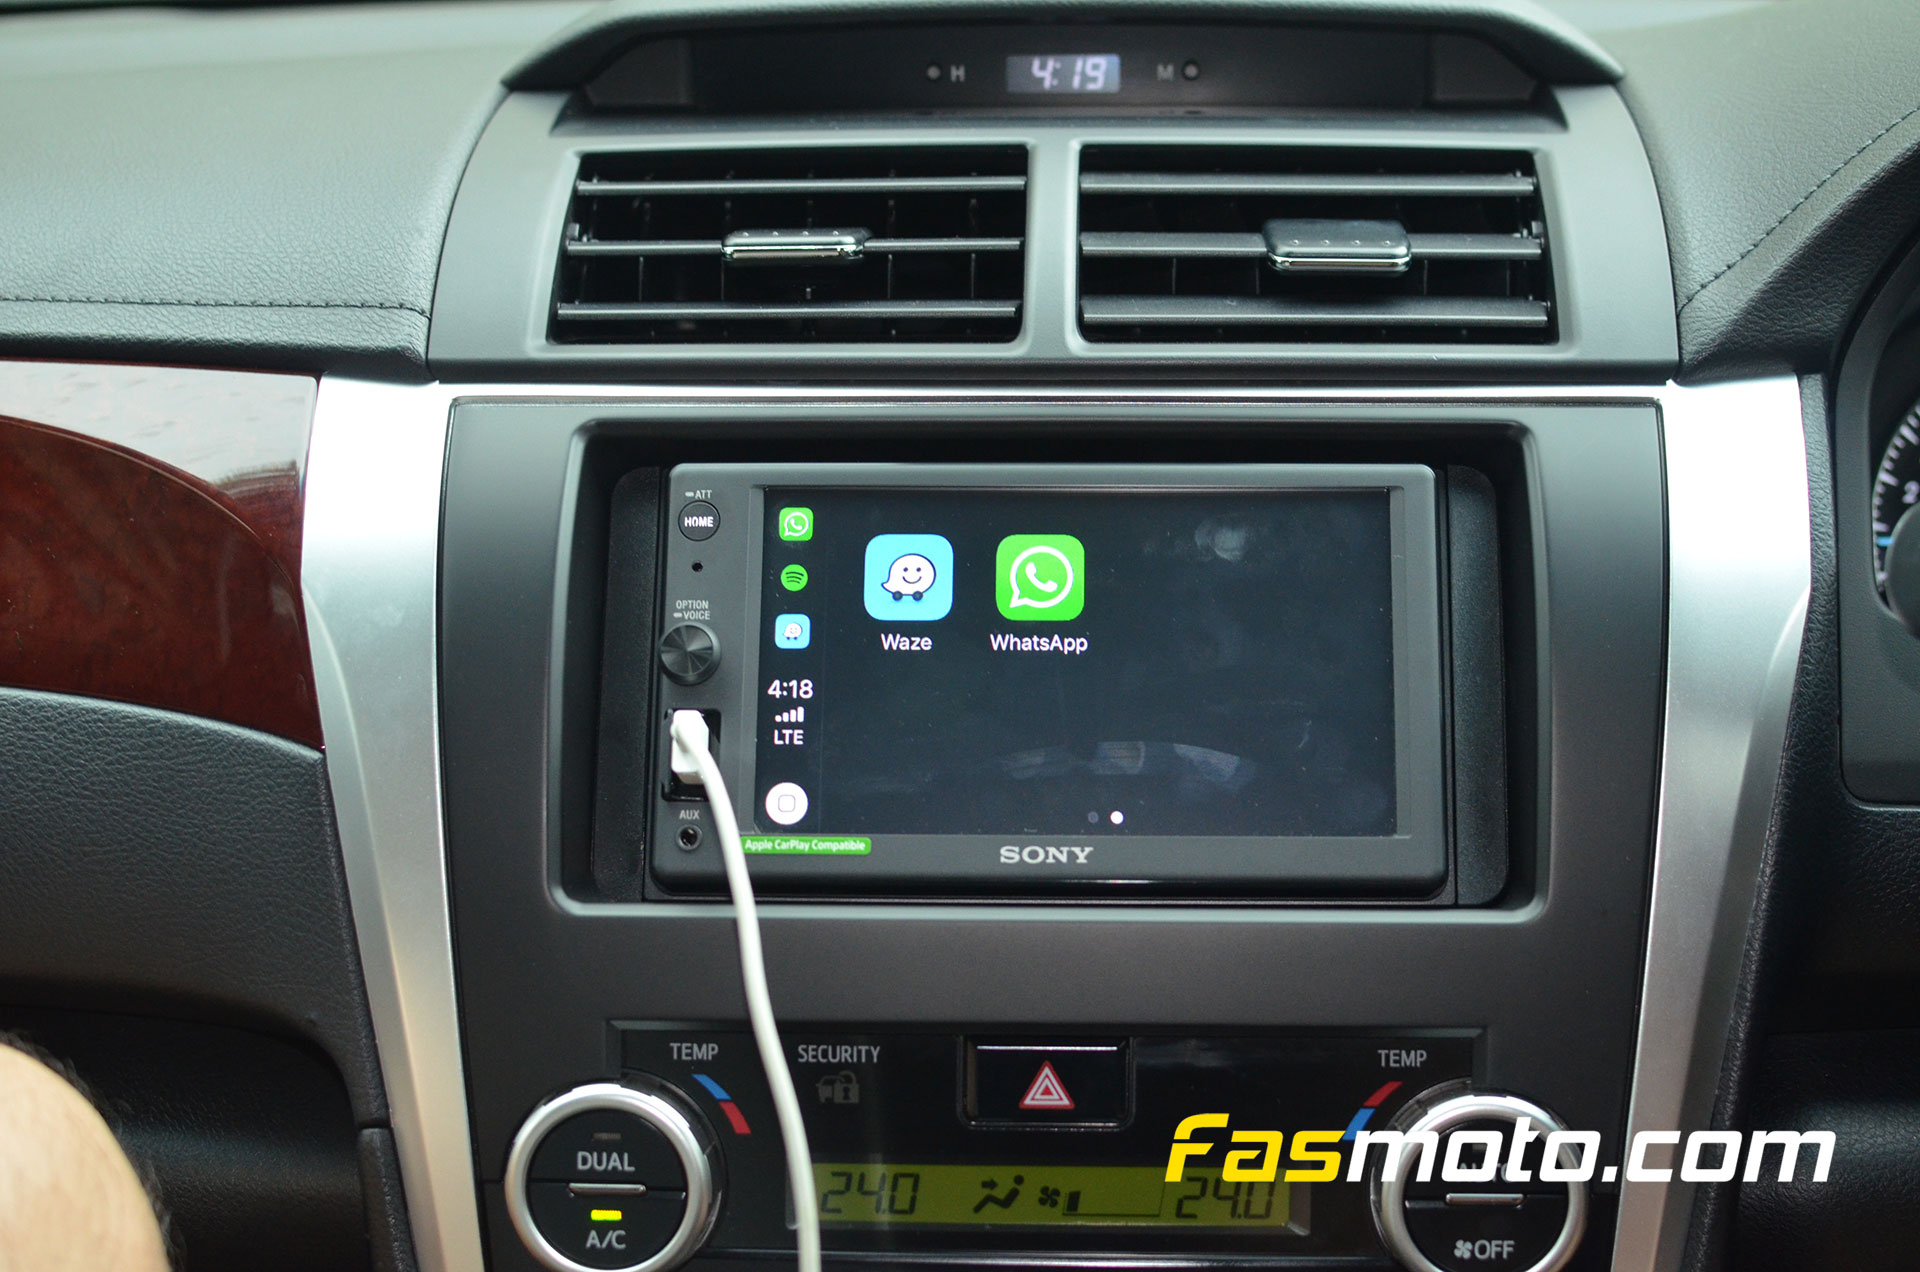
Access your favorite apps via CarPlay.
Below is a video if you are interested to catch a glimpse of some of the work involved.
Products used in this install:
Head Unit – https://www.fasmoto.com/sony-xav-ax1000
Dash Kit – https://www.fasmoto.com/audio-video/audio-video-installation/installation-dash-kit/dash-kit-toyota/toyota-camry-12-14-dash-kit-wisdom-holy
Stereo Harness Adapter – https://www.fasmoto.com/audio-video/audio-video-installation/harness-adapter/harness-adapter-toyota/toyota-87-16-car-stereo-wiring-harness-adapter-female
Steering Control harness adapter – https://www.fasmoto.com/ste-003-steering-wheel-control-oe-adapter-for-toyota-28-pin-f-to-20-pin-m
Antenna adapter – https://www.fasmoto.com/toyota-car-stereo-antenna-adapter-male
2 Way Camera Interface – https://www.fasmoto.com/Redbat-2-channel-parking-camera-switcher-control-box-interface
Rear Camera – https://www.fasmoto.com/1661-hd-parking-camera
RCA Video Signal Extension Cable – https://www.fasmoto.com/camera-video-input-single-channel-rca-cable-male-to-male-6m